

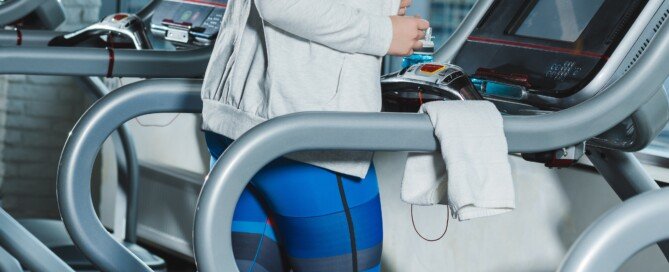
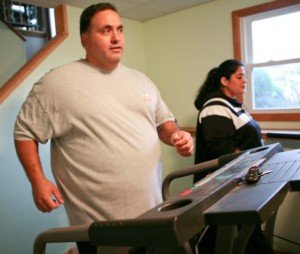
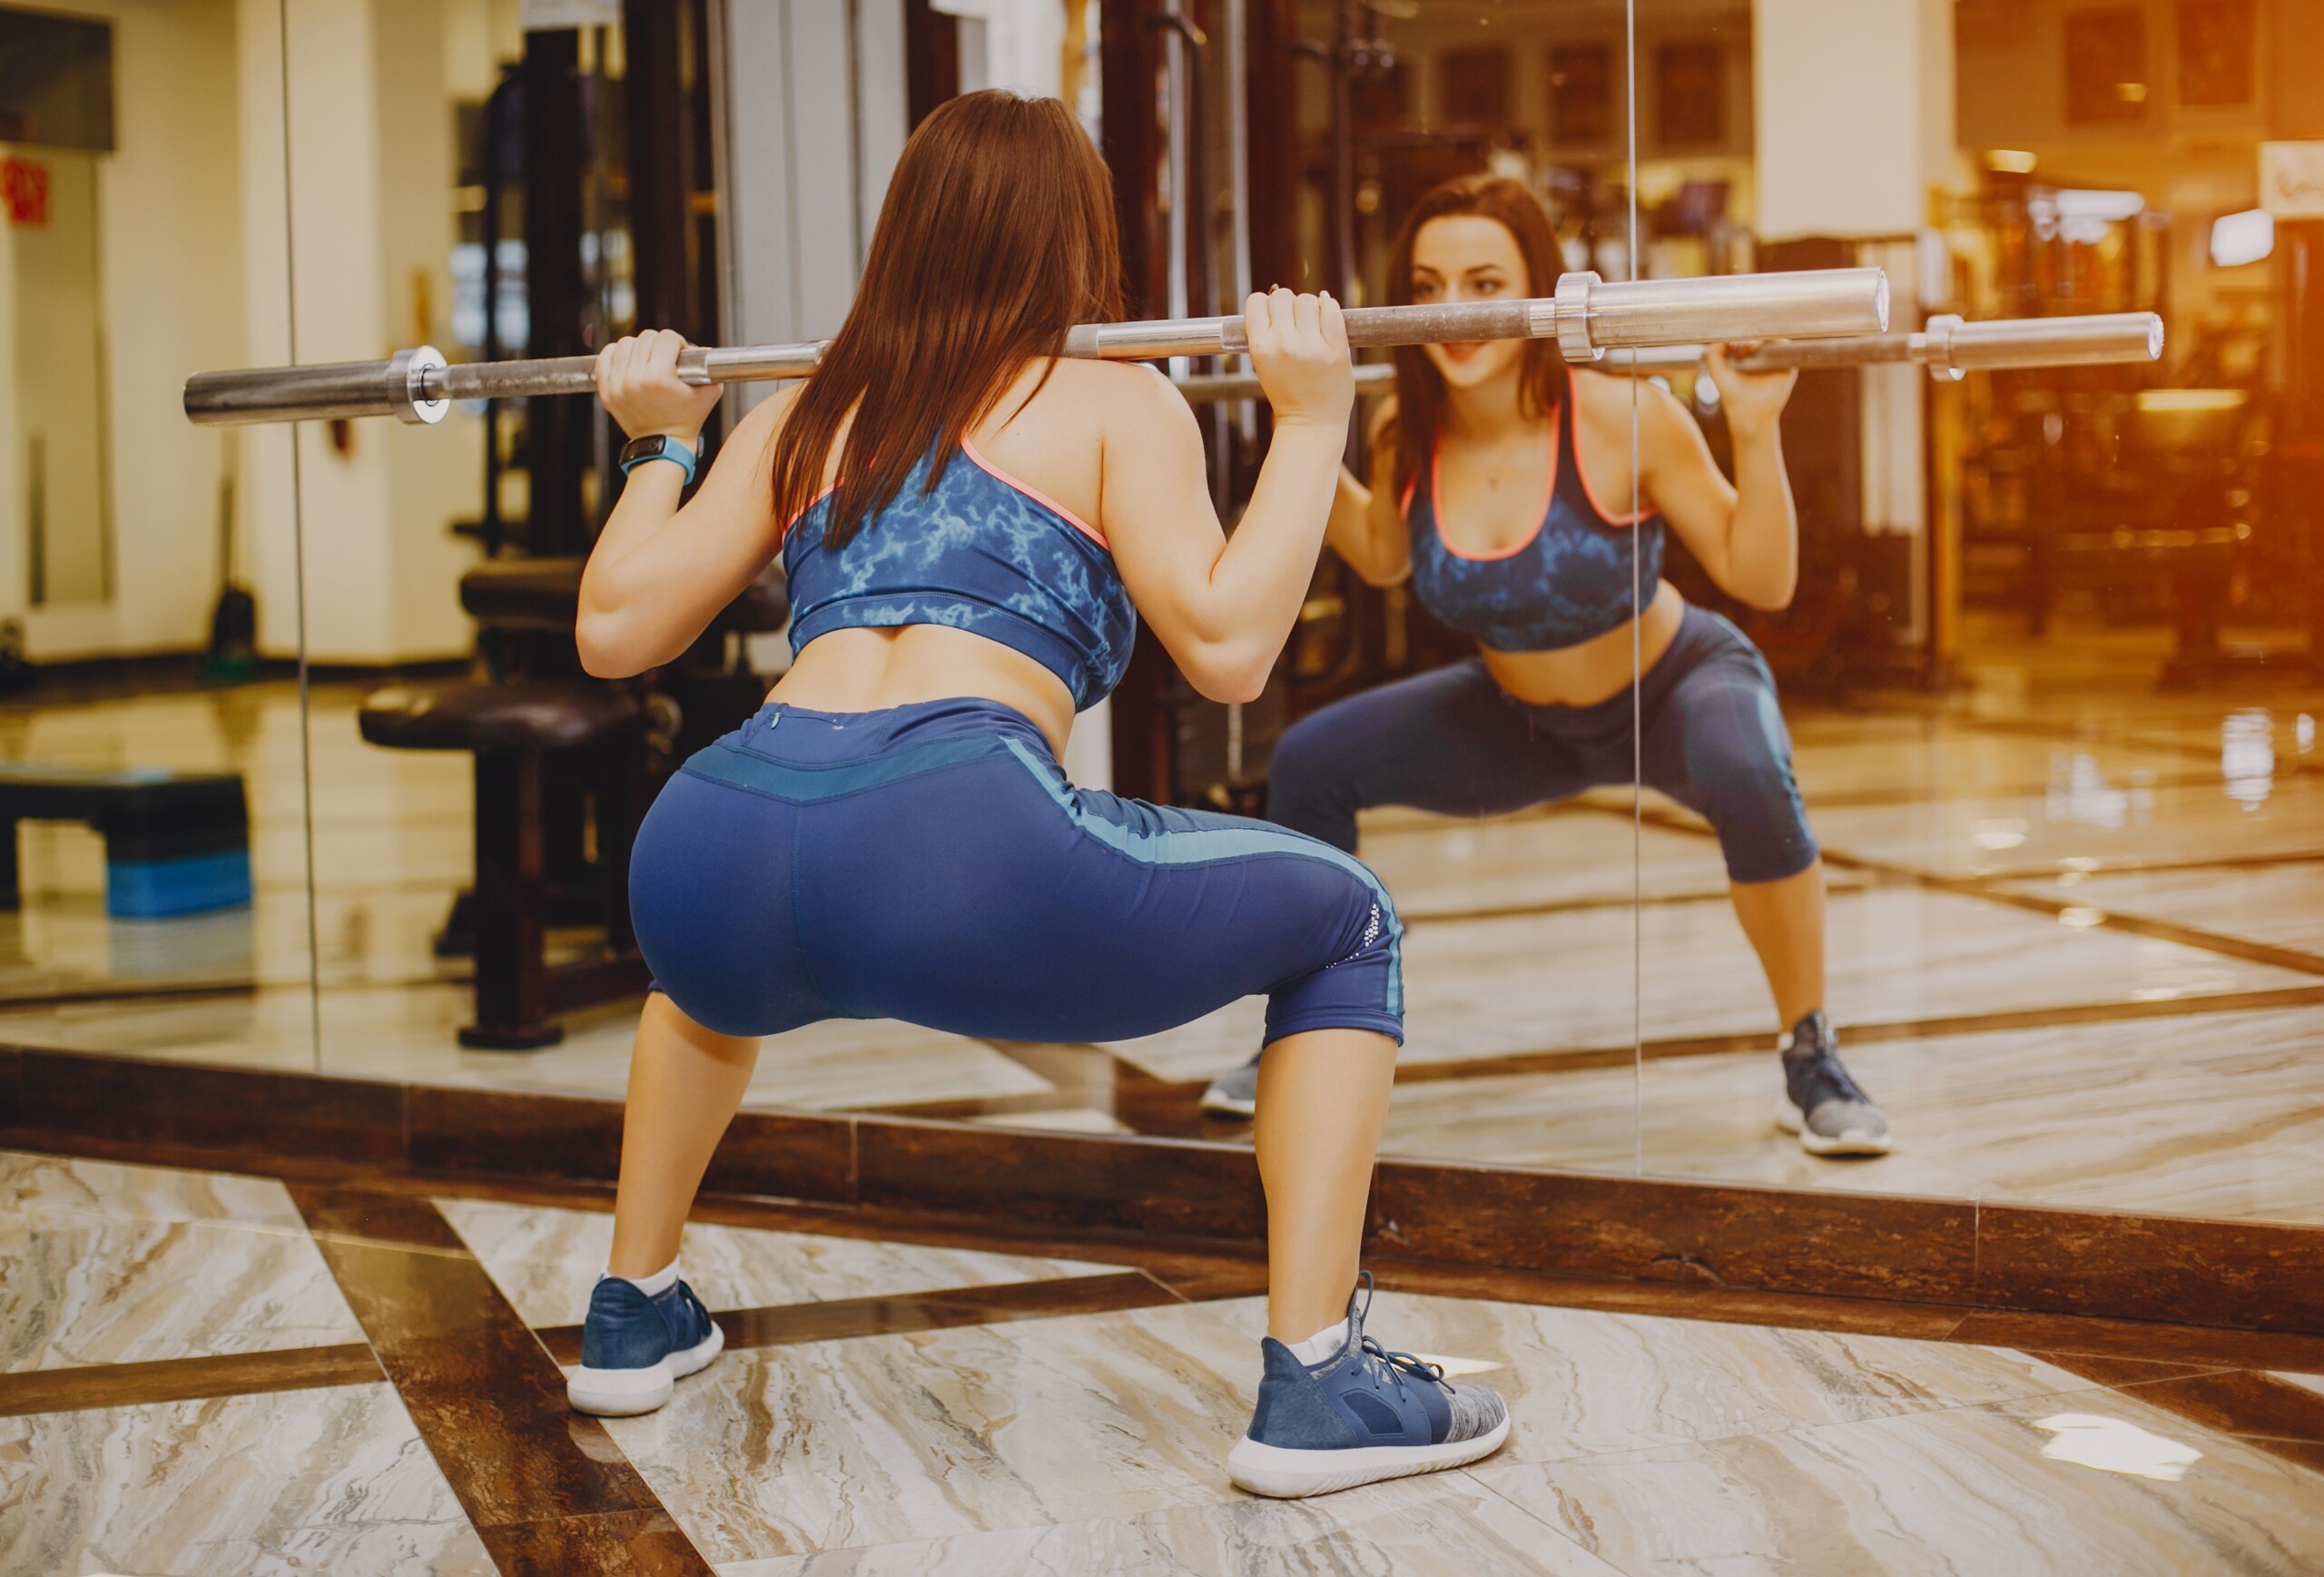
Why Some Obese Women Are Scared to Exercise: 6 Reasons

There’s an incredible formula that makes exercise success possible for ANY obese woman. Overweight women cannot fail with this exercise approach.
Many plus-size women are reluctant to begin an exercise program due to fear of failure.
If you’re a full-figured women who can’t bring herself to start an exercise program, you’ll find that you fall under at least one category for being afraid to exercise; there are six reasons obese women fear exercise.
Feeling “Too Fat” to Exercise
Sure, there are certain kinds of physical activities that a woman can be too heavy to efficiently participate in, but exercise doesn’t mean that you must attempt stunts in which a heavy body causes a problem, such as running, inline skating or squat jumps.
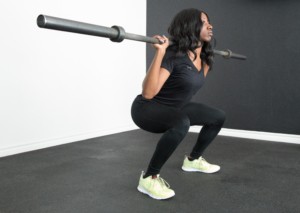
If you’re obese and have a habit of lifting up babies or toddlers, then you’re not too heavy to lift up dumbbells, push against resistance machines or pull weighted bars towards you on a pulley system.
If you don’t need assistance walking, you’re a candidate for a brisk walking program and even modified yoga.
The Aches or Pains
Ask yourself if it’s remotely possible that every thin person who works out is free of aches and pains.
I guarantee it, many people with “perfect” bodies exercise through pain. I’ve had personal training clients, slender from head to toe, who had pain for any number of reasons.
I don’t endorse performing any activity that aggravates an injury, such as bench pressing with a rotator cuff strain.
However, sometimes a thin person has pain that she must live with (e.g., diabetes neuropathy, peripheral vascular disease, old injury from car accident), yet works out anyways, within reason, of course.
I once spoke to a normal size Vietnam vet who told me he’s in constant pain but exercises daily anyways.
A very overweight woman who has aches and pains is not a unique person; people of all sizes can have aches and pains, and many exercise.
Fear of an Injury
Avoid exercises that you think might cause injury or aggravate a pre-existing problem.
For instance, don’t lift barbells over your head if you have shoulder pain with overhead motions.
There’s plenty of exercises to choose from, that, when performed with correct form, are very safe — a lot safer than housework!
A very heavy woman is far more likely to strain her back doing housework than performing controlled, structured exercise with a pair of dumbbells, tension tubing or resistance machines.
Fear of Failure
An obese woman should write out her exercise goal — not in terms of results, but in terms of minutes spent working out.
The completion of these minutes is automatic success. Write in your daytimer, for instance, 10 minutes of nonstop walking on the treadmill, on a particular day.
Then just do it. It’s impossible to fail if you do it! (But swing your arms while walking; holding on is cheating.) There is no failure at completing a task!
Feeling Self-Conscious
Exercising at home will solve this problem, but imagine how much confidence you’ll have in all areas of life (like the workplace) if you force yourself to visit a health club with the idea that you’ll become desensitized to the presence of other patrons who have “perfect bodies.”
Not Feeling Healthy Enough
The obese woman should get a complete physical and ask her doctor if it’s okay to exercise.
I can’t imagine a physician telling an obese woman, “Exercise will damage your arteries, raise your cholesterol and raise your risk for diabetes.” Can you?
Follow the approach outlined here, and your success at exercise–no matter how obese you think you are–is pretty much guaranteed.
Remember, you’ve succeeded in exercise just 24 hours after!
How Obese Women Feel About Exercise: Study
Researchers from the Center for Obesity Research and Education and the department of kinesiology at Temple University, shed some bright lights on this situation with a study analyzing the survey results of obese and normal size women.
“This is the first time we’ve been able to systematically look at what stops obese women from getting the activity they need,” notes Melissa Napolitano, kinesiology associate professor, and clinical psychologist; Center for Obesity Research and Education at Temple University.
This is the study that yielded the aformentioned reasons that make very overweight women reluctant to exercise.
 Lorra Garrick is a former personal trainer certified through the American Council on Exercise. At Bally Total Fitness she trained women and men of all ages for fat loss, muscle building, fitness and improved health.
.
Top image: Shutterstock/Dmytro Zinkevych
Source: sciencedaily.com/releases/2008/10/081005203055.htm

Why Your Child with Down Syndrome Should Exercise

Let’s assume that your child with Down syndrome has been given the okay by his or her physician to exercise.
What’s the best exercise for a child with Down syndrome?
This is open to debate, as some parents will swear by swimming, while others will swear by equestrian, tennis, even ballet.
“Children and teenagers with Down syndrome participate in less physical activity than other children because of their developmental delays and disabilities,” says Julie Joffrion, owner at All Inclusive Health, a personal training studio in New Orleans that offers options to those with disabilities.
“This lack of exercise helps contribute to the high numbers of obese children, and adults, with Down syndrome.
“Exercise is incredibly important for a child or teenager with Down syndrome. With regular exercise, a person will have an easier time walking and getting around while increasing their breathing capacity.”
“Exercise” doesn’t necessarily have to be routines with weights, heavy balls, balance boards and tension bands — even though all of these implements are great.
There is one particular form of exercise that few parents of kids with Down syndrome would ever consider.
It is the martial arts.
Martial arts is actually a LOT safer for ANY child, including those with Down syndrome, than more popular forms of exercise such as team sports, skiing, figure skating and gymnastics — which are Special Olympics sports by the way.
Perhaps the form of exercise most likely to send your child to the emergency room with injuries is — believe it or not — riding a bicycle.
According to the Centers for Disease Control, every year about 250,000 riders in America under the age of 20 sustain bicycle related injuries requiring ER care.
I’ve spent many years in the martial arts and saw fewer injuries occur than I did when playing volleyball (another Special Olympics sport) for the same number of years.
In the martial arts I had seen several juvenile students with Down syndrome — including a teenage girl with a black belt in karate.
What About Coordination?
The mother of the teen girl told me that karate dramatically improved her daughter’s coordination and expedited her mastery of staying balanced on a bicycle.
“Balance activities are great to help build up coordination and stability,” says Joffrion.
“Let your child hold onto the side of a bar or bench at your gym and work on lifting one leg at a time.”
Moves like this can be seen in children’s martial arts classes, since even non-handicapped students may have trouble with balance.
In the martial arts, students are judged individually, and a quality instructor knows that students progress at their own pace.
The mother of the teen girl informed me that several other female students were eager to “take her under their wing” when the girl first joined at age eight.
CAN kids and Teens with Down Syndrome Truly Learn Martial Arts?
Young people with Down syndrome have been participating and competing in many sports for years: downhill skiing, gymnastics, soccer, basketball, track and field, tennis, even hockey.
Obviously, the more academically higher functioning the athlete, the more they will learn in ANY physical endeavor, and the more proficient they will become.
And just because the venue is usually Special Olympics doesn’t mean that this doesn’t count.
The larger the Special Olympics event (local vs. regional vs. national), the more likely you’ll see athletes with remarkable skills.
At one large Special Olympics I saw a teen girl with Down syndrome captivate the crowd with her gymnastics routine.
She was good enough to be on a mainstream high school level team.
Supreme Benefits of Martial Arts
The major benefit about martial arts is that the child with Down syndrome won’t feel pressure to score points, aim a ball or do other things on a court or field that’s expected in team sports.
Joffrion explains, “For children and teenagers with Down syndrome, work on strengthening all parts of the body. At the gym, look for light weights to start, and then build in moderation to increase strength.
“Resistance bands are another great piece of equipment to help children with Down syndrome get used to working their muscles before they hit the weights.
“Keep in mind that exercise should always be monitored and done in a reduced capacity.
“For people with Down syndrome, the oxygen cost is higher which will result in the premature onset of fatigue.
“There are also limitations to using heart rate as a measurement when it comes to exercise. Individuals with Down syndrome exhibit a 20-25% lower maximal heart rate.”
Another gym option is low impact cardio classes or an easier level of group fitness classes.

All Inclusive Health’s training services include fitness/body composition assessments, nutrition planning, running programs and customized programs for clients with disabilities or injuries.
Lorra Garrick is a former personal trainer certified through the American Council on Exercise. At Bally Total Fitness she trained women and men of all ages for fat loss, muscle building, fitness and improved health.
Top image: Freepik.com
Source: cdc.gov/healthcommunication/toolstemplates/entertainmented/tips/HeadInjuries.html

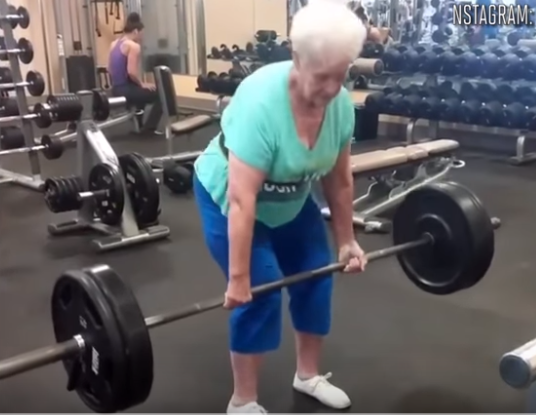
The Single Best Exercise for a Frail Elderly Person: Deadlift
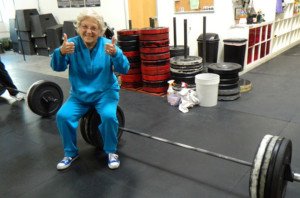
If elderly people could choose just one exercise to maintain fitness and vitality, which would it be, the most important of all?
It is lifting weights. (more…)
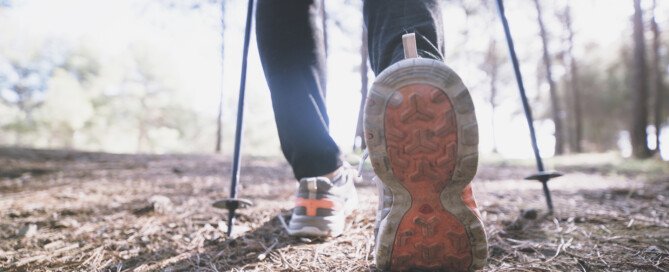
Walking Stick Benefits: Calorie Burn Truth or Hype?
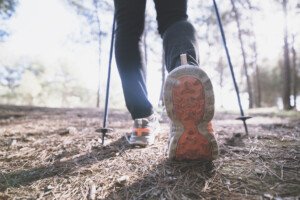
Walking sticks will not do a better job of melting off the fat or upgrading your fitness!
A better way to burn calories and get fitter is to ditch the sticks and ambulate the way nature designed the human body to move.
Contrary to all the hype, trekking poles do not increase calorie burn or fitness when compared to hands-free movement. (more…)
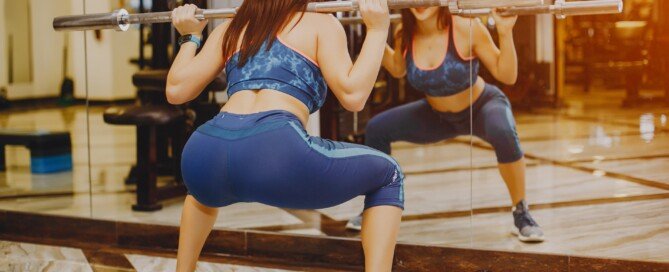
Should Beginners Do Compound Weightlifting Exercises?
Here is your simple, no-nonsense guide to WHY a beginner should do compound weightlifting exercises.
If the weight being lifted is light enough, any beginner can handle any compound strength training move. Think about that if you’re still skeptical.
Even for more intricate compound weight lifting moves, such as the hang clean, a broom stick can be used so that the novice can practice the motions and get them down really good.
The next step would then be using a 20-pound barbell.
There are many compound moves in strength training, and the more simpler ones are the following: bench press, rows, body weight or dumbbell squats, and leg press.
These are simple in that the form is relatively easy to learn.

Freepik/master1305
Squats can be done lightly holding onto a stable support, and the beginner can hold dumbbells at his or her sides instead of supporting a free barbell across the back.
Beginners can also do tracked barbell squats.
Compound weight lifting simply means a routine that uses more than one joint during the lift, or a multi-joint exercise.
There’s no reason why beginners can’t do compound, or multi-joint strength training.
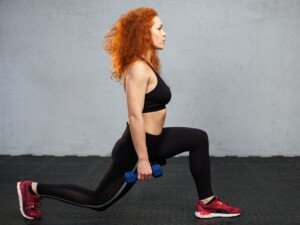
Another example of compound training, that the novice can benefit from, is that of the lunge, either stationary or done walking.
Shutterstock/Artsplav
The beginner can perform this compound routine without holding weights, even, and still benefit.
Compound moves are done throughout the day as you live your life, such as when hoisting up a garbage bag and slinging it into a trash container; picking up kids and then setting them down; and even getting up out of a chair (the upward phase of a squat!).
Yes, getting out of a chair is essentially the “positive” phase of a squat.
Need I say that settling down into a chair is the downward (“negative”) phase of a squat? Unless you lazily fall into the chair.
Are there compound weight lifting routines that beginners should avoid? It depends on the body position and amount of resistance.
For example, full-body-weight seated dips, in which the legs are straight and the feet (heels) are on a second bench, are too advanced for a beginner.
Beginners to strength training cannot do these, and attempting to do so may result in shoulder injury. Same with parallel bar dips.
The novice also needs to be aware of not over-loading barbells when performing compound routines like deadlifts.
These can be practiced for high reps with body weight only, then light weights.
Shutterstock/Nicholas Piccillo
Beginners also almost always cannot do a true, good-form pushup — another compound exercise, unless knees are on the floor, and even then, this can be difficult.
Modified pushups (knees on floor, hands pushing off an elevated surface) can be done to prep the novice strength trainer for “real” pushups.
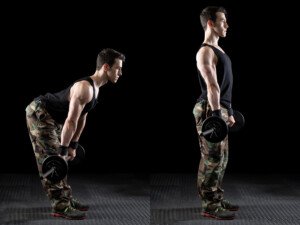
Beginners, no matter how weak, can do the compound routines of bench presses, deadlifts, good-mornings, seated cable pulley rows, standing barbell rows, “machine” rows, T-bar rows (with or without support), one-arm bent-over rows, squats with body weight only (or light dumbbells and barbells), and modified seated dips, in which the legs are bent, feet on floor.
Freepik/bristekjegor
Chin-ups and pull-ups are also compound moves, and beginners, of course, will find these very difficult.
However, they can gear up for them, as well as parallel bar dips, by using chin/dip assist machines.
Beginners should get used to dumbbell squats and tracked barbell squats before moving on to free barbell squats.

Freepik/fxquadro
Bench pressing can be done with just the Olympic bar (45 pounds) or fixed-weight lighter barbells.
Of course, any rowing variation can be done with the lightest amount of weight.
More advanced compound lifting moves, such as in Olympic style, can still be performed by beginners, but focus should be on mastering form and technique before piling on the weight load.
Novices can also create compound moves, such as squatting while holding dumbbells, then after standing up, pressing the weights overhead.
Or, they can do wall squats against a stability ball while simultaneously doing dumbbell curls.

tepanek, CreativeCommons
Lorra Garrick is a former personal trainer certified by the American Council on Exercise. At Bally Total Fitness she trained clients of all ages for fat loss, muscle building, fitness and improved health.

What Finger Removal of Impacted Feces Feels Like

I was in the ER with impacted feces and will explain how it felt to have the doctor put his fingers “in there” and remove the feces–which just kept coming out and out.
(more…)
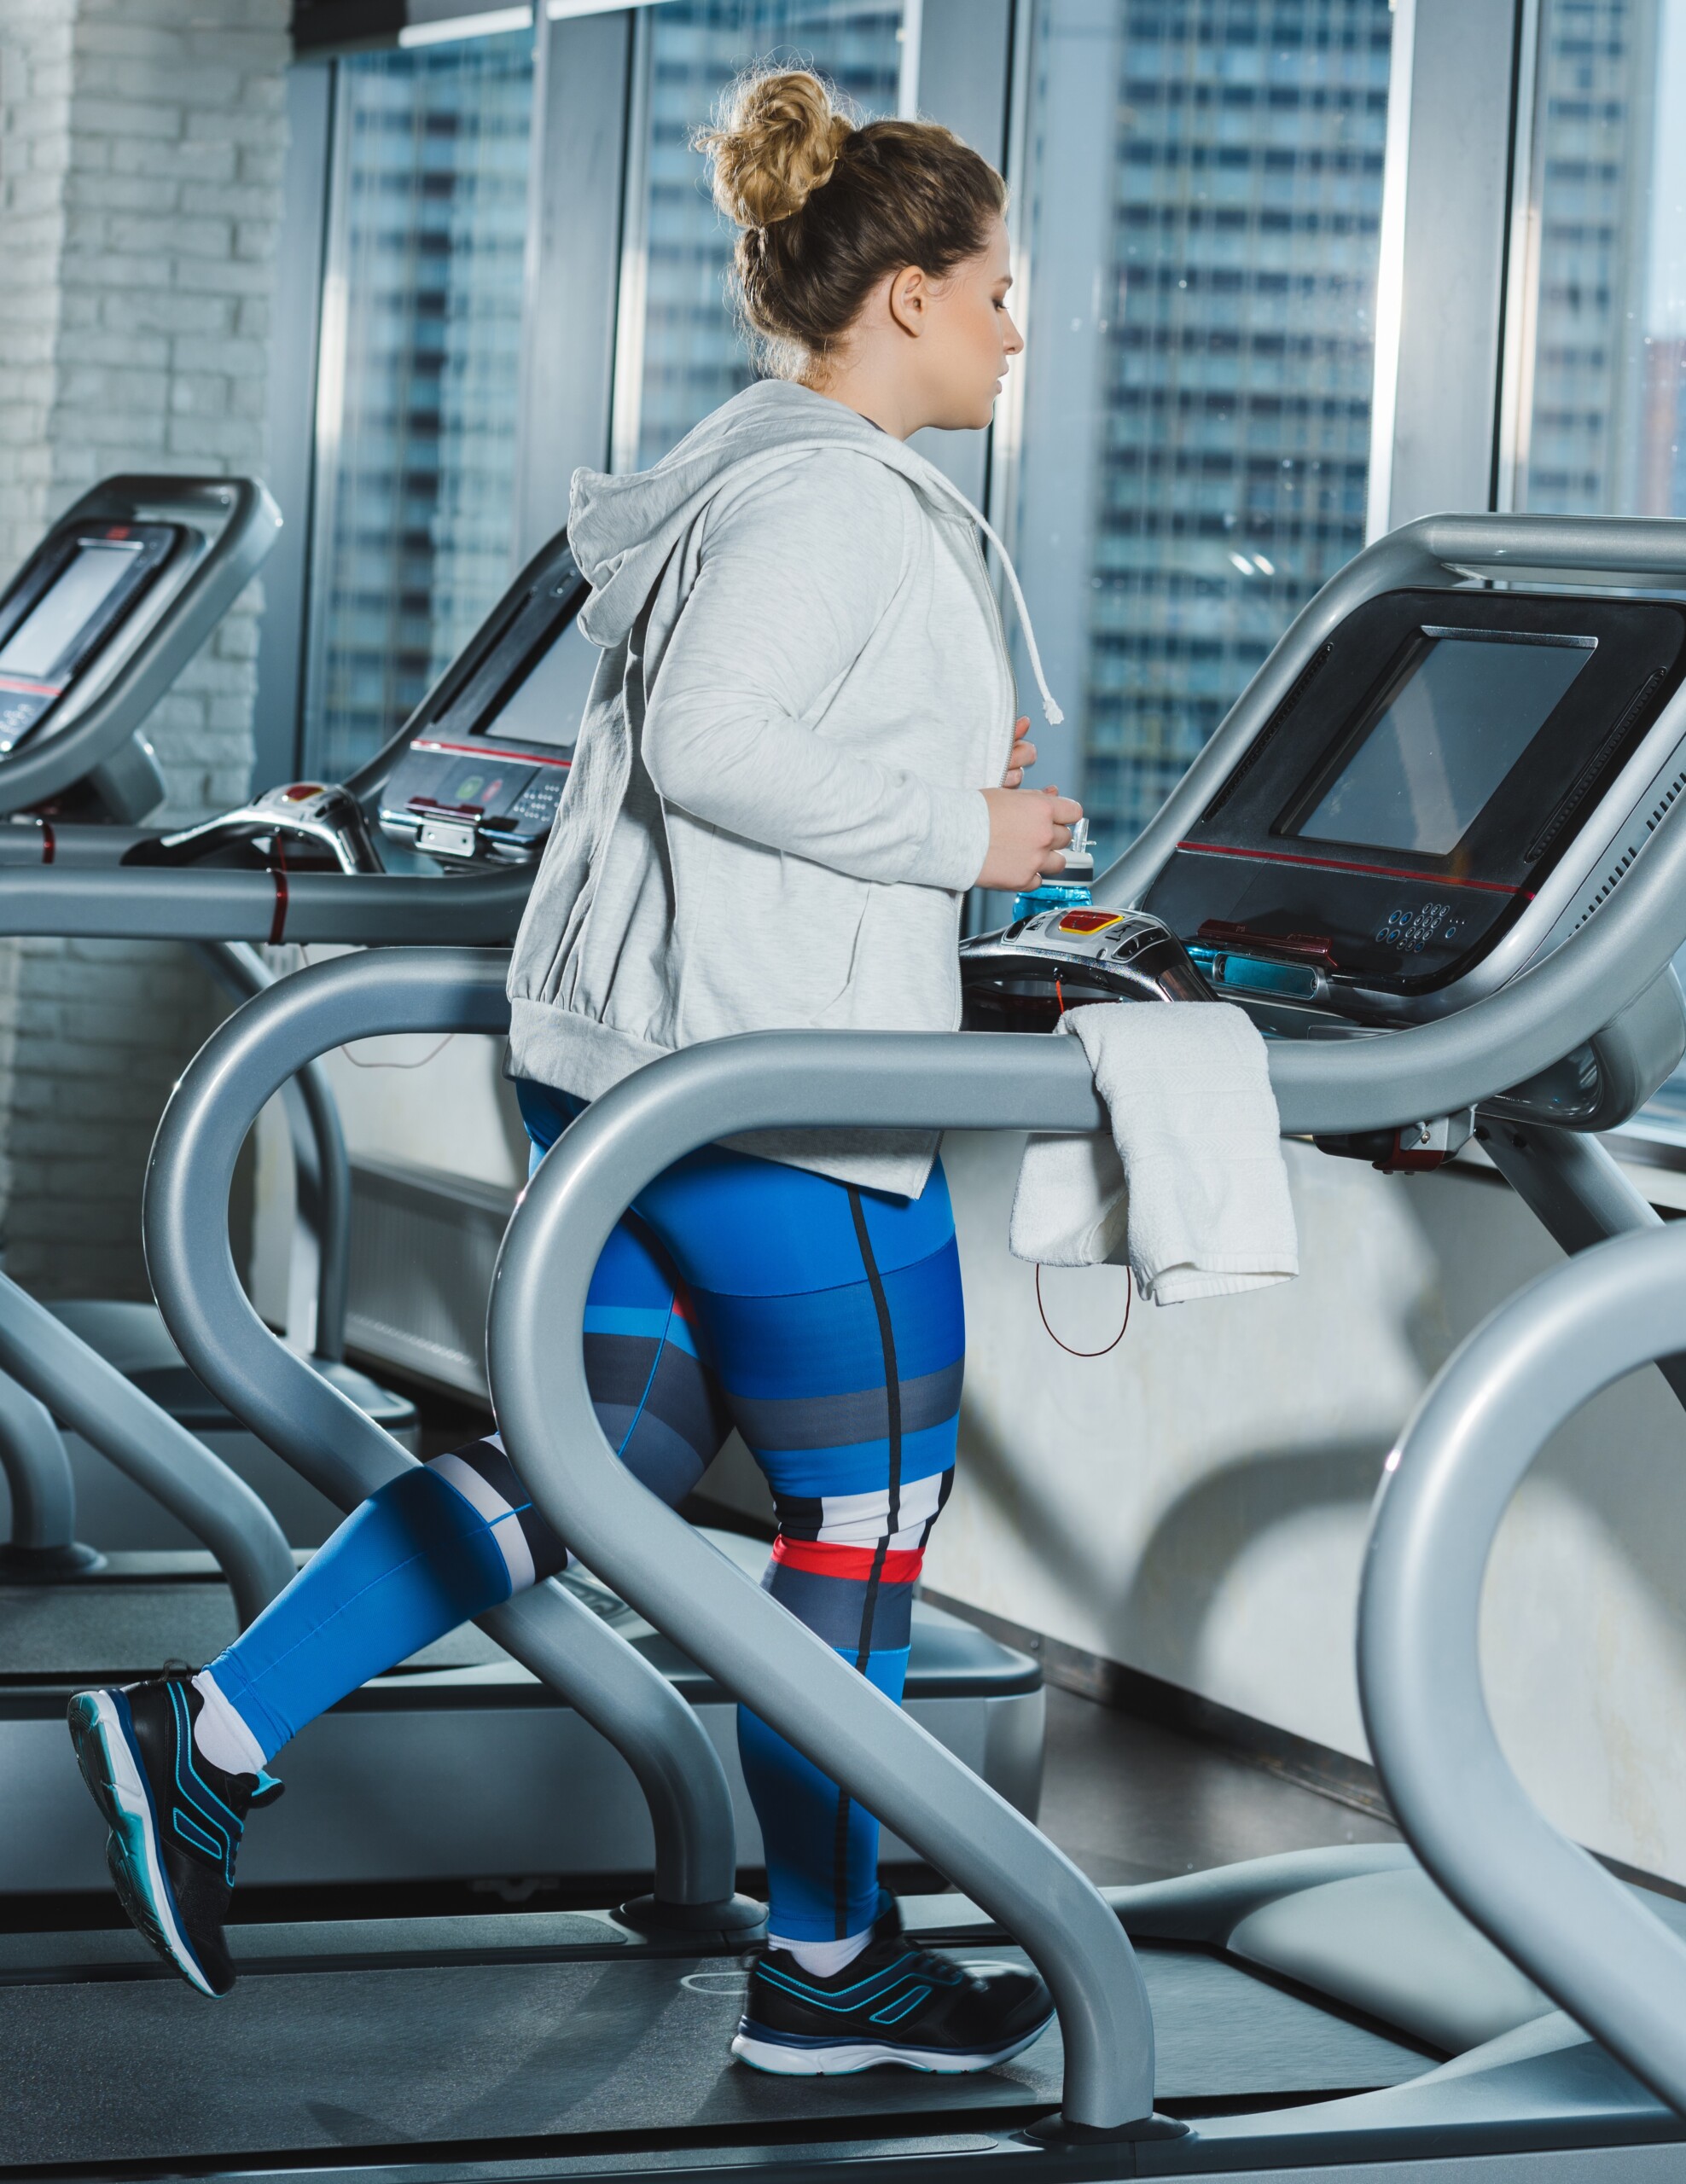
How to Overcome the Intimidation of Treadmill Running

You must read this if you’re fearful or reluctant to run or even slowly jog on a treadmill. (more…)
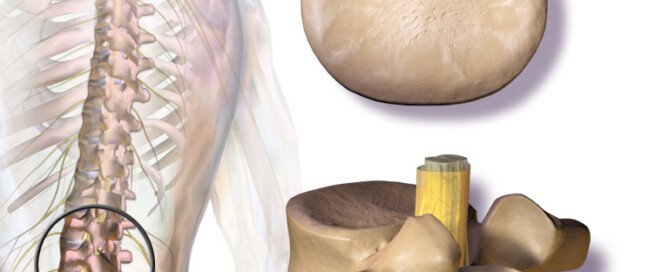
How Soon Epidural Steroid Injection Works in Elderly People
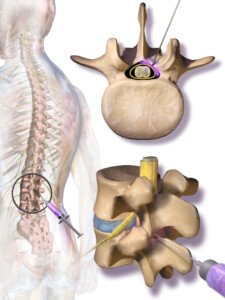
This article is about how soon in an elderly patient an epidural steroid injection may take to work. (more…)
What Are the Best Exercises for Obese Older Adults ?

What is the best exercise for the older, obese adult?
Being old and obese is no excuse for avoiding exercise. However, considerations must be made in terms of what kind of exercise is best for the older, obese person.
“To get back into the best of health, obese seniors should still be exercising daily to keep their heart healthy and burn calories to take the extra weight and pressure off of the aging body,” says Monica Charlton, a senior exercise specialist and certified Silver Sneakers/personal trainer out of New Orleans.
There are quite a few types of exercises that are perfect for the older obese body. Let’s look at one of them — which can be done anywhere with no equipment.
Wake Forest University conducted a study showing how valuable simply walking can be for this demographic.
This can improve the mobility of older, obese people as much as 20 percent, says the WFU five-year study which concluded in 2011.
“This is one of the first large studies to show that weight loss improves the functional health of older people with cardiovascular disease,” says Jack Rejeski, Thurman D. Kitchin Professor of Health and Exercise Science, in the paper.

How the Study Was Done
The study subjects were 60 to 79 and were followed for 18 months. One group did no walking. The second group walked. The third group walked and had weight loss counseling.
The greatest results were in the third group.
To measure improvement in mobility, the 400-meter walk was used because it’s a reliable tool for measuring mobility in older adults, especially with obesity.
Walking on the job and at the store do not count.
“To best kick-start your exercise, begin with walking every day,” says Charlton.
“Walking is great because it’s low impact on the joints. To begin, you can divide your walking exercises up into smaller segments throughout the day.
“Begin to increase your movement by walking briskly, each week adding on more minutes.”
These segments can be done outside or in the house — but any house-walking should NEVER be counted in with normal everyday walking around the house!
Set a timer for 10 minutes and walk around the house non-stop, pumping your arms, doing nothing else BUT the walking.
Obese, Older and Walking on a Treadmill
There’s only one way to walk with proper form, arm/shoulder motion and breathing: Do not hold onto the treadmill.
Being old and obese is not a pass for harmful walking mechanics. Use a slower speed and swing the arms.
“Start out on a lower incline and speed until your body gets accustomed to it,” says Charlton.
“As your body gains strength and you become better at the treadmill, work on keeping your hands off the rails.
“I am against holding the treadmill, as it doesn’t give you the full impact. I explain to my clients that if they were walking up a hill, would they be able to lean back like people do when they hold the treadmill?
“When people hold the treadmill, they are not mimicking a real-life activity and they are failing to engage their erector spinae, quadratus laborum and other important core muscles that affect our posture.
“In addition, by holding the treadmill, they may be adversely affecting the growth and maintenance of their core musculature as well as leg musculature.”
Exercising While Shopping
The walking you did at Walmart does not count as your walking exercise, no matter how old or obese you are.
At Walmart or Sears, you are not focusing on posture, breathing, relaxing the shoulders, stride or other elements related to efficient exercise — not to mention the fact that walking at a store means stop and go, stop and go, and often includes slouching or slumping over to examine merchandise.
Set special time aside every day for your walks — even if it’s just five minutes at a time around your apartment complex.
Another Great Exercise Approach
Lift weights. This can be resistance bands, a weighted ball, dumbbells, a kettlebell, a barbell or even your own bodyweight with partial squats and gentle partial lunges.
 Monica Charlton’s personal training services include fitness/body composition assessments, nutrition planning, running programs and customized programs for clients with disabilities or injuries, as well as older and mainstream clients.
Lorra Garrick is a former personal trainer certified through the American Council on Exercise. At Bally Total Fitness she trained women and men of all ages for fat loss, muscle building, fitness and improved health.
.
Top image: Alexisrael, CreativeCommons
Source: sciencedaily.com/releases/2011/01/110124162625.htm

How a Doctor Mistakes Melanoma for Seborrheic Keratosis

Which is it?
Has a doctor recently told you “It’s a seborrheic keratosis” and you’re still scared it’s a melanoma?
Here’s what you should do.
A melanoma can sometimes be mistaken for a seborrheic keratosis which is a benign skin barnacle.
“There are MANY pigmented skin lesions and many can look alike,” says Jennifer Gordon, MD, who is board certified by the American Board of Dermatology; she practices at Westlake Dermatology located in Austin, Texas.
“These include moles, freckles, seborrheic keratoses, dermatofibromas, basal cell and squamous cell carcinomas, melanomas and many others,” continues Dr. Gordon.
Melanoma vs. Seborrheic Keratosis
“When these lesions are ‘text book,’ they can be fairly easily deciphered by the trained eye of a dermatologist; however, as we know, skin lesions don’t always read the textbook,” explains Dr. Gordon.
“True pigment can occur in many of these lesions, but also some of these lesions grow with a brown discoloration and thickening, which can make detection of underlying pigment in the actual skin difficult.”
How does a melanoma get past a dermatologist’s trained eye to recognize the distinctive pigment network of a melanoma?
And to this question of mine, Dr. Gordon replies, “There is no ‘distinctive pigment network’ of a melanoma. There are many red flags that a pigmented lesion might be a melanoma or atypical, but there is no perfect formula.
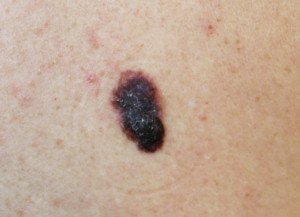
Melanoma. Shutterstock/Nasekomoe
“Blue/white veil [under magnification], peripheral globules, expansion of pigment network, inverse pigment network, etc., have all been studied and shown to be worrisome for melanoma, but there are melanomas that have no pigment.
“There are multiple types of melanoma that grow in different patterns as well, and often can look like thick, vascular lesions or seborrheic keratoses.
“SKs often are thicker with no distinct pigment network and crypts. Again however, these lesions can be flat, have an apparent pigment network and become inflamed.”

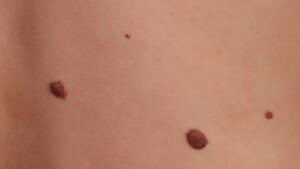
Seborrheic Keratosis
How easy can a doctor mistake a melanoma for a seborrheic keratosis after viewing it through a handheld lens (dermatoscope)?
Dr. Gordon explains, “Dermatoscopes polarize light and magnify, making it easier for us to see the intricacies of lesions, but it does not have a ‘melanoma’ light that pops up when we see one.
“All it does is give us more information about what the lesion looks like, and as we gain more research about different features that distinguish malignant lesions from benign lesions, we can continue to use these to help us decide whether to biopsy.
“However, a good rule of thumb is that the dermatoscope should never talk you out of taking a biopsy, but if you see something abnormal that you could not see with the naked eye, it is then useful to help push you towards taking a biopsy.
“Again, although there are a few features that are either reassuring or worrisome, many lesions contain both types of features.”
Best way, short of biopsy, to indicate possibility of seborrheic keratosis vs. melanoma?
“Another very important thing to remember is that we are seeing a snapshot of your skin lesions,” says Dr. Gordon.
“Change and evolution of lesions is an extremely important factor in malignancy, so monitoring and watching for change is another important job for both you and your dermatologist.”
A seborrheic keratosis can change or evolve, just like melanoma does. However, an SK’s changes can be rapid, noticeable by the naked eye from day to day. Melanoma changes much more slowly.
Thus, that weird “mole” that looks different on Thursday than it did Monday is very unlikely to be a melanoma—though by sheer coincidence, a melanoma can start growing within a seborrheic keratosis!
But this is pure coincidence; a seborrheic keratosis cannot cause cancer or turn into cancer.
Should a patient insist on a biopsy simply by hearing, “It’s a seborrheic keratosis”?
“We see hundreds of skin lesions a day and use patterns to help decide what we believe is worrisome or not,” says Dr. Gordon.
“This is our job and most of us are good at it. However, to Err is Human and there will be mistakes.
“If a patient is truly worried about a lesion, then biopsy it! If they think it is changing, biopsy it!
“I don’t condone sampling every pigmented lesion but if there is an ugly duckling or one a patient has been worried about, then let both of you sleep that night by putting it in a jar.”
So is the image above a melanoma or a seborrheic keratosis? It is a seborrheic keratosis — but note how similar it looks to the image of the melanoma!


