
Trekking Pole Fitness: Truth or Just Gimmick Hype?
![]()
The human body wasn’t born with trekking poles attached, so why should we use them when walking on scenic trails or even challenging hikes?
However, the proponents of trekking poles for hiking swear that these devices are a better way to move about on mountain trails — even flat family-friendly trails.
I say otherwise, not just because have a personal-training background, but because I’m an avid hiker and trail runner — of all kinds of terrain.
There is a particular group of foothills where I used to do a lot of hiking. I never used any trekking poles.
It was “all me.” I like the idea of ambulating in the wilderness on all sorts of exciting terrain without relying on an external agent to get me around.
Trekking pole enthusiasts might argue I’m foolish for not using these devices, but my perspective is that trekking poles are crutches and will prevent the growth of agility and neuromuscular coordination.
About that particular group of foothills, there is one giant foothill that’s a pretty steep climb of lumpy tundra.
After getting to the top the first time, I hiked well beyond it on a number of trails, then returned and proceeded to descend the steep tundra.
There was a slight problem. The way I ambulate downhill is to lower my center of gravity and lead with a foot, so that I’m not facing forward (which increases the chances of pitching forward and falling).
Instead my knees are pretty bent and I’m facing three-quarters rather than straight ahead down the hill.
I started out with my left foot leading and everything was second nature.
I then switched to my right foot and immediately detected that the neuromuscular coordination of my right foot and leg didn’t match that of my left.
Had I decided to tackle the issue by relying upon trekking poles, my right side would have remained in that state: not matched to my left side.
Not that I was a klutz, but this was a situation in which a trekking pole user would have put some weight-bearing on the stick to create more stability.
I decided to descend the remainder of the foothill with mostly my “weaker” side. This would stimulate it to grow more neural connections.
Next week I climbed the same foothill, did my running on the flatter trails at the top, then returned to descend.
I didn’t have trekking poles, because my plan was to descend, once again, with mostly my “weaker” side.
When I proceeded on this side, I immediately noticed an improvement from last week. The body responds marvelously to a new training stimulus.
The third time, a week later, descending on my right side felt nearly the same as the left side. And a week after that, voila! My right side matched my left side!
Using trekking poles would have outright prevented this improvement. By not relying upon an external agent, I forced my nervous system to adapt.
This is a prime example of how trekking poles create a barrier to developing or improving coordination and optimal strengthening of joints, connective tissue and nervous system signaling.
 Lorra Garrick is a former personal trainer certified through the American Council on Exercise. At Bally Total Fitness she trained women and men of all ages for fat loss, muscle building, fitness and improved health.
.
Top image: Freepik.com/rawpixel.com
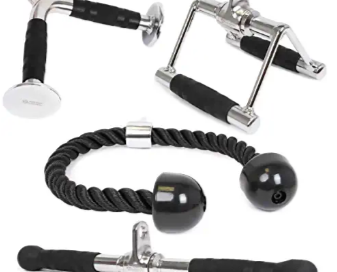
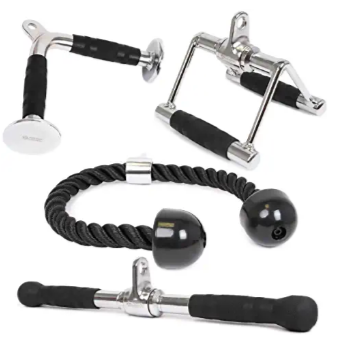
Weightlifting Cable Attachments: Benefits of Different Kinds

There are so many different cable attachments for weightlifting.
You may be wondering how each weightlifting cable attachment works and how they all differ from each other.
Some weightlifting cable attachments are more ergonomic (comfortable, easier on the wrist and shoulder joints) than others.
Some can be gripped multiple ways, while others offer only one gripping option.
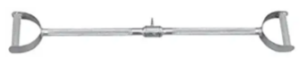
But even the standard pull-over bar, one of the most commonly used cable attachments for weightlifting, offers variations, in that some of them slope down at either end only slightly, while others have a more dramatic slope.
Some are smooth metal all the way, while others have a rough surface at varying points for a better grip.
When the hands are gripping as far apart as possible for a pull-down, the latissimus dorsus muscle will be recruited at its best.

However, this maximally wide grip has a caveat: It can be uncomfortable at heavy loads and strain the shoulder joint.
The bar with the extra-sloping ends enables the exerciser to do very low behind-the-neck pull-downs, which are not recommended because these can over-stress the rotator cuff, not to mention throw off spinal alignment.
Another popular weightlifting cable attachment is the double V handle. It allows for more resistance to be pulled down, is very comfortable on the shoulder joint, easy to use, and works both for lat pull-overs and seated rows.
The person grips this cable attachment with both palms facing each other, then pulls down from above, or pulls towards the chest for a seated row.
If you want to buff up your forearms, this is the perfect handle, because the forearm muscles really get recruited.
The double V handle comes in a wider variety, which allows you to go deeper with the pull, since the grip is a little further apart.
But the further apart the grip, the more difficult the pull. Nevertheless, these are nifty cable attachments because the wider V handles typically have a thicker, cozier-feeling area to grip.
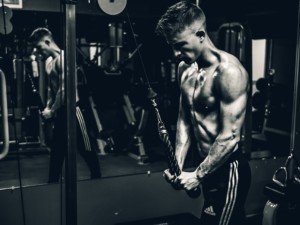
And then there is the e-z bar cable attachment, which offers a few places of hand positioning.

Shutterstock/BLACKDAY
This bar has several curves that allow you to pull with slightly inward wrists, thereby eliminating strain on the wrists.
This cable attachment can also be used with palms facing downward to recruit more of the forearms.
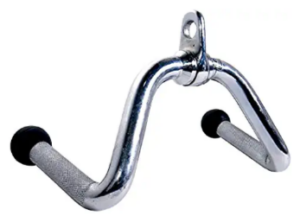
There is another type of weight lifting cable attachment that’s about as long as a standard pull-over bar, except that it has hand-grips at the end that allow your palms to face each other.
This has a few advantages over the standard bar. Heavy pull-downs, done with palms facing each other, are easier on the shoulder and elbow joints.
Secondly, if you have a thumb injury, it’s easier for the four fingers to grasp the handles when the palms are facing each other, than the standard bar with the palms facing away from the person.
Another type of weight lifting cable attachment is the single handle, often used for one-arm triceps routines.
However, two of these handles can be doubled up for a bilateral routine like cross-overs.
Doubling these up is the option for people who want to use the double V handle, but can’t find one available.
A favorite cable attachment for weight lifting is the rope.

Freepik.com jcomp
This comfortable implement is typically used for triceps routines, and can be used unilaterally in the form of triceps kickbacks.
For best weightlifting results, use a variety of cable attachments; don’t always use the same cable attachment for your strength training.
Lorra Garrick is a former personal trainer certified by the American Council on Exercise. At Bally Total Fitness she trained clients of all ages for fat loss, muscle building, fitness and improved health.
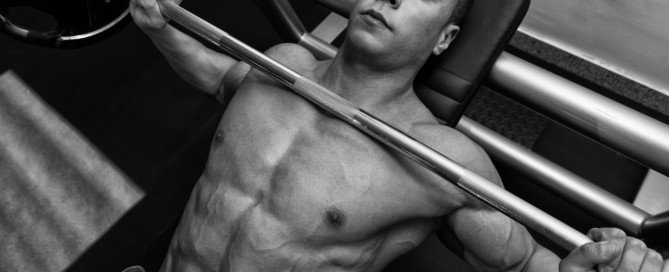
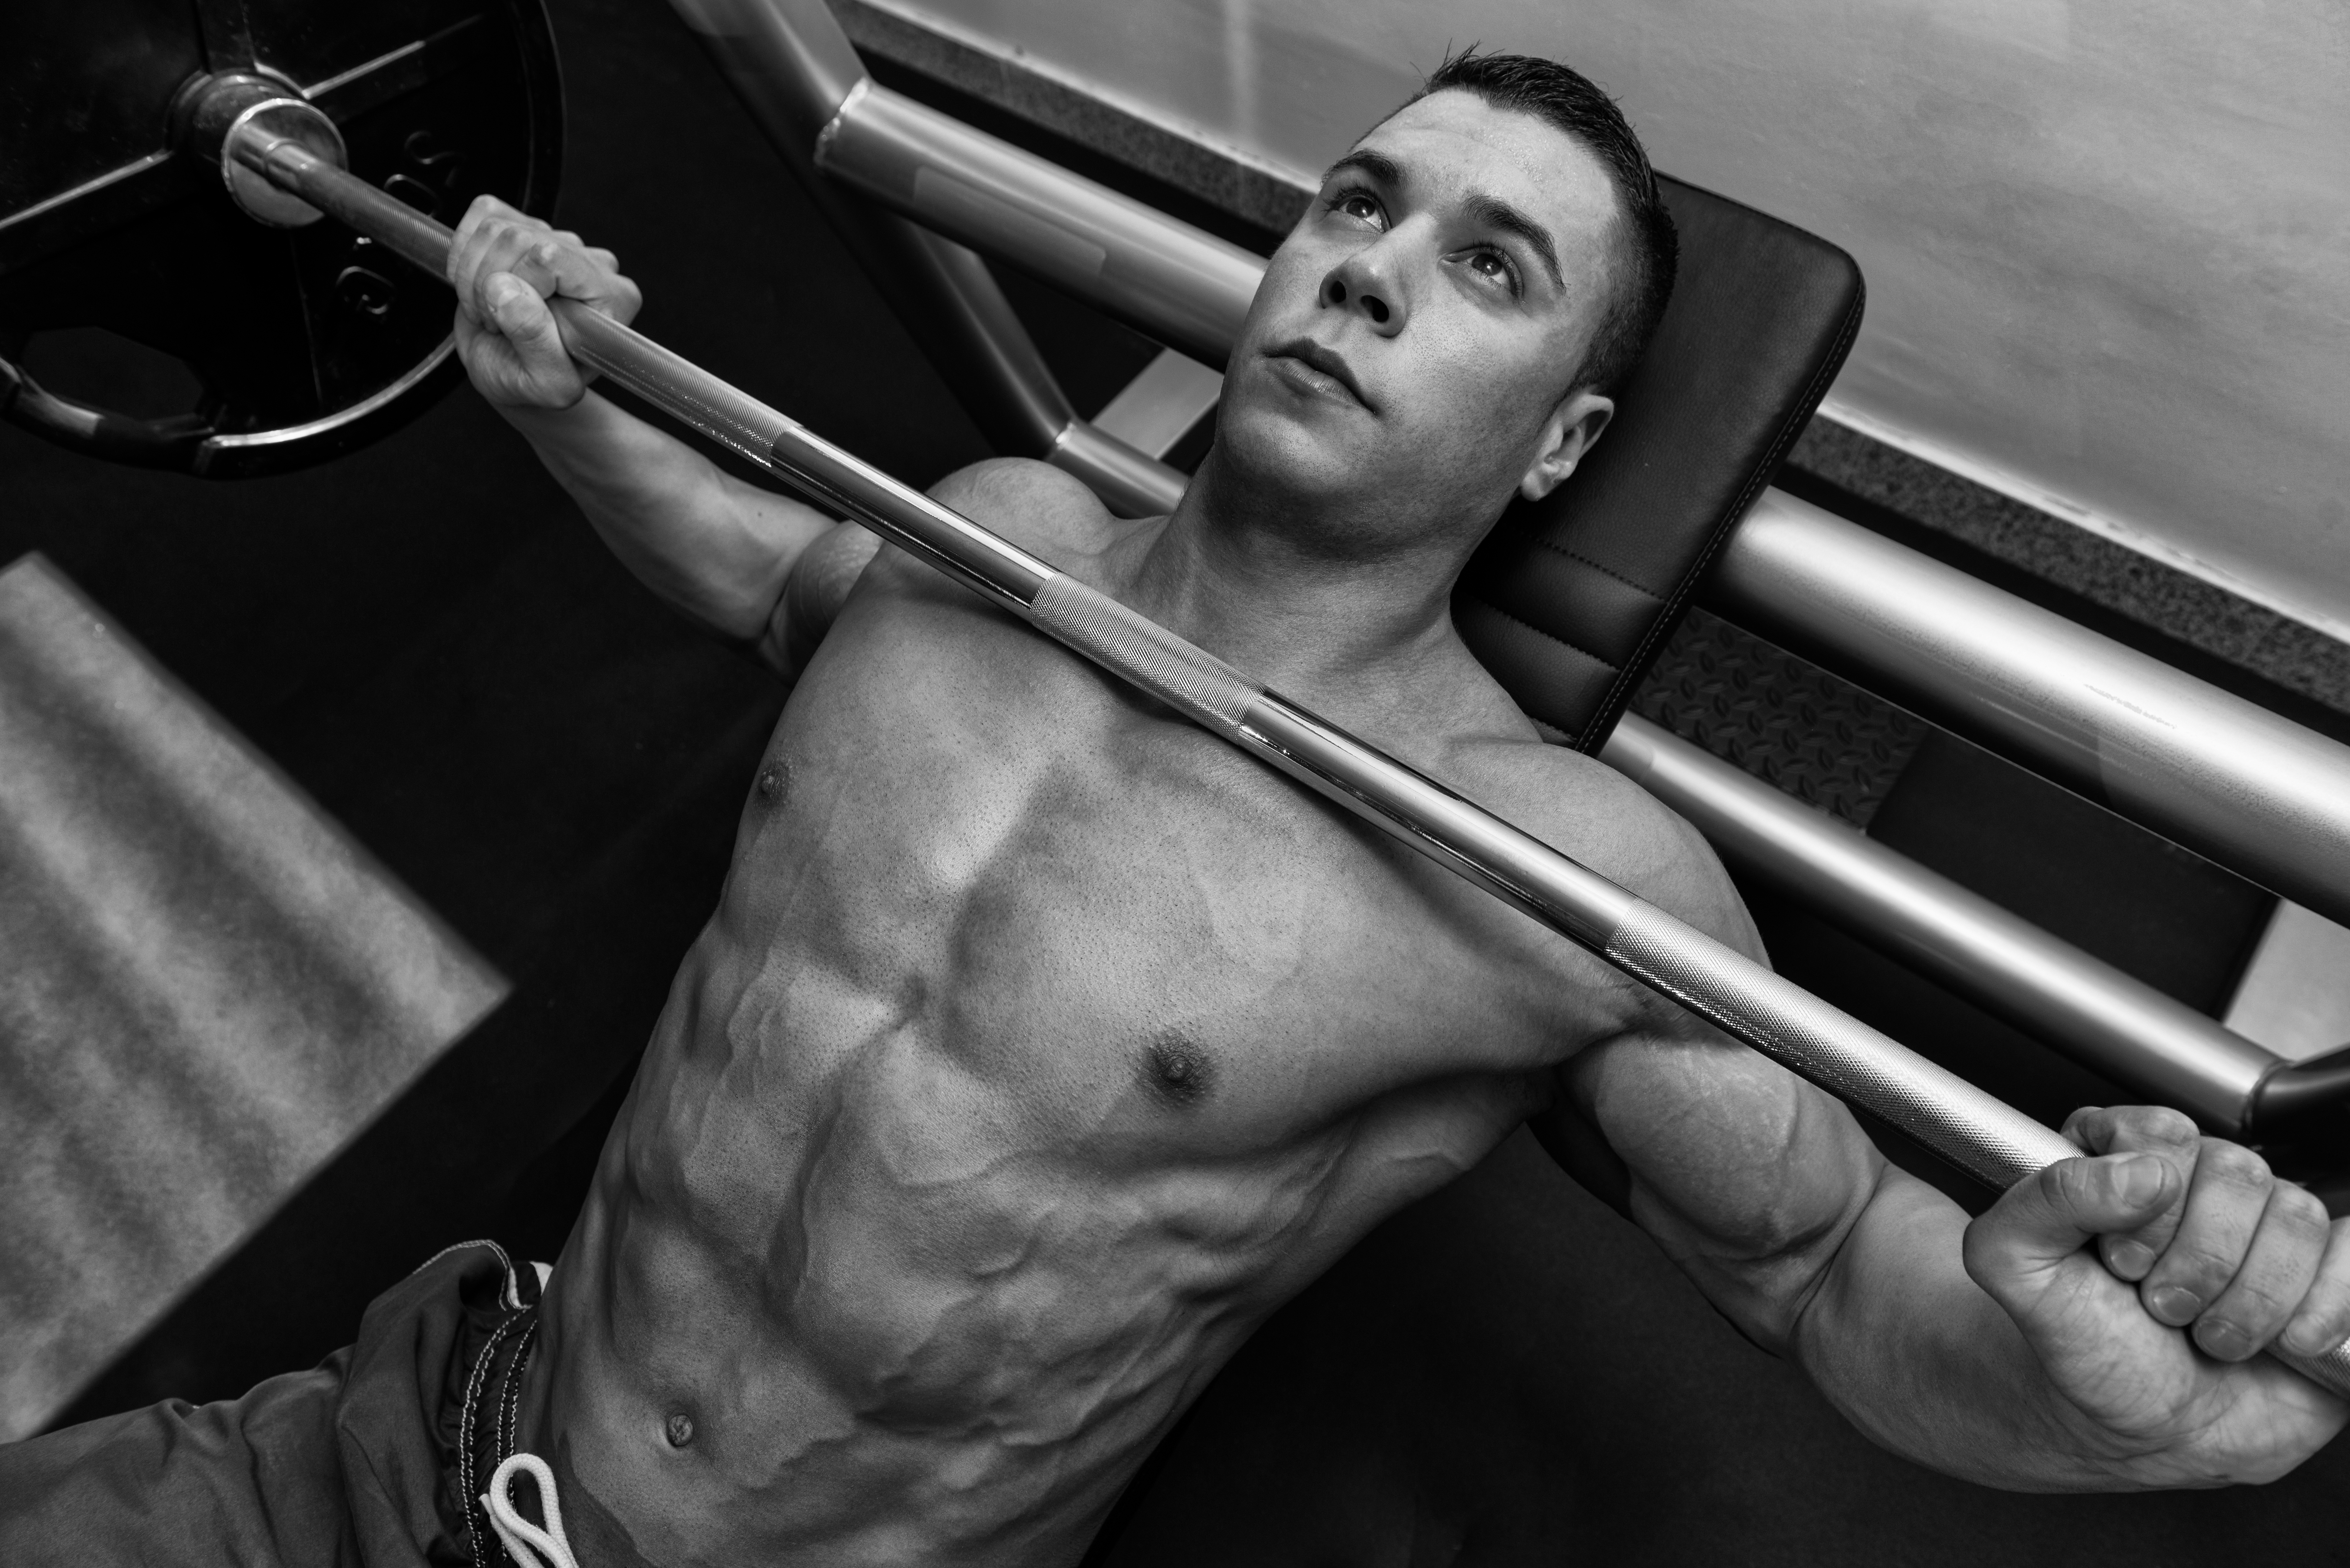
Super Slow Training vs. Traditional Weight Training

Have you heard of super slow training?
This pertains to weight training done very slowly, as in a 10-second release of the weight, after taking 4 or 5 seconds to lift it.
Super slow training is controversial; some fitness experts stand by the super slow training way, while others insist it’s inferior to traditional weight lifting. Super slow training has some benefits, however.
I’m a fitness trainer and have never had clients do super slow training, because it is NOT better than traditional weight lifting or strength training.
But I will admit that super slow training has a few virtues that you should know about.
Pros of Super Slow Training
Ideal for people with injuries. An injury may prevent you from doing your weight lifting with the usual amount of weight, but you don’t want to avoid the exercise routine altogether, either.
Using lighter weights won’t challenge you as much, unless…you employ super slow training.
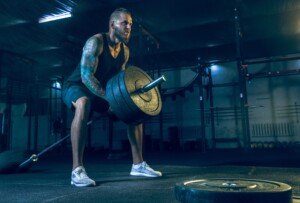
For instance, suppose you have an injury that makes it painful to bench press.
Super slow training will enable you to work the muscles with a much lighter barbell, sparing your injured area of more harm, yet challenging your muscles nevertheless.
Take 4 or 5 seconds pushing up the barbell, and then take 10 seconds lowering it.
“One one-thousand, two one-thousand,” and so on. And don’t rush the mental sounding out of “one one-thousand…” either. Truly make these 4/5- and 10-counts.
Good for seniors just staring weight lifting. Super slow training may be less intimidating to old people who’ve never done strength training.
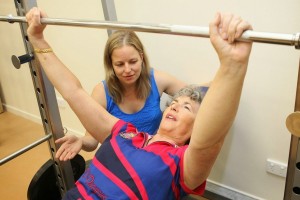
The slow movement is inviting and requires use of light weights. Also, there is less risk of injury with super slow training.
Less risk of injury. This lower risk applies to any age group, of course, so if particular strength training routines feel tweaky, you might want to replace some traditional sets with super slow training to give your muscles and joints a little break.
Cons of Super Slow Training
Again, I am a hardcore proponent of traditional weight lifting, and even though I wanted to inform you that super slow training indeed has a few good points, it is NOT the be-all, end-all for building strength, muscular endurance, speed, power, fat burning or any other benefit that is associated with strength training.
Super slow training does not mimic real-life movement, because it’s done in slow motion. In real life, you hoist, pick up, carry and push things in a quick motion.
Imagine a super slow movement with the bent-over dumbbell row.
Now imagine pulling the starter handle of a lawn mower or picking up a heavy sack with one hand if you’re other hand is occupied. These latter are fast motions.
Real life is not slow motion. Think of pushing a heavy suitcase up top the compartment in an airplane: This is a quick motion.
Super slow training skimps on recruitment of fast twitch muscle fiber.
Fast twitch muscle fiber gets targeted by traditional weight lifting a lot more than by super slow.
The more you work fast twitch muscle fiber, the more physically fit and agile you become. As well as stronger and more buff or sculpted in appearance.

Freepik.com, halayalex.
Super slow training doesn’t translate to sports performance. I can offhand think of only one sport that is done in slow motion: rock-wall climbing (and even then, I encourage traditional strength training — with light weights — for rock climbers).
Even golf is done in fast motion, when the golfer makes a big swing. Super slow training will do very little to promote better sports performance.
Super slow training can be boring. The super slow nature can drive some people batty.
Super slow training will not sculpt like traditional weight training will, nor will it build muscle mass or muscle strength like traditional strength training or body building will.
Lorra Garrick is a former personal trainer certified by the American Council on Exercise. At Bally Total Fitness she trained clients of all ages for fat loss, muscle building, fitness and improved health.
.
Top image: Shutterstock/Jasminko Ibrakovic
Drop Set vs. Superset vs. Pyramid Set

Comparison of drop sets, supersets and pyramids…
Drop set vs. superset vs. pyramids: What exactly are these, how are they different and what are the benefits of each?
Drop sets, supersets and pyramid sets are three forms of intensity training, that are also valuable for busting past a performance plateau. They also make better use of time
From my experience, the most common of these is the superset.
This is when one weight routine is immediately followed by another weight routine of a different muscle group.
When it’s the same muscle group, it’s called a compound set (not to be confused with “compound routine,” which means a routine that involves multiple joints, such as bench press and deadlifts).
Examples of supersets:
- Bench press paired with dumbbell curls
- Seated dips followed by reverse barbell curls
- Military press followed by pushups
- Chin-ups followed by dumbbell squats.
- Performing supersets offers a dynamic component to your weight workout.
Drop sets hurt more than supersets and pyramids. These can be dreadful. Drop sets are also known as breakdowns or descending sets. They exhaust every muscle fiber to the last fiber.
Do an 8-12 rep max of any given weight routine. Without resting, repeat with a lighter weight.
Without resting, repeat again with a lighter weight. Keep doing this till you just can’t move the muscle anymore, or until you’ve reached the lightest weight.
This can take all day if your starting weight is a lot, such as a heavy bench press.
On the other hand, with dumbbell curls, you’ll be finished a lot sooner, since your starting weight may be, say, 40 pound dumbbells.
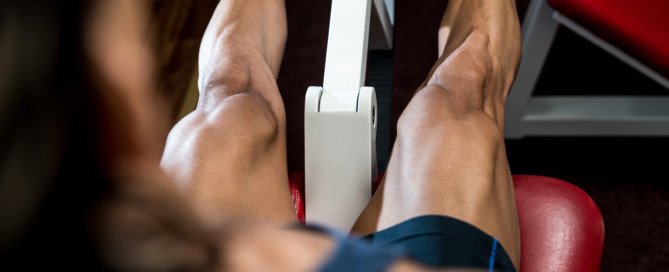
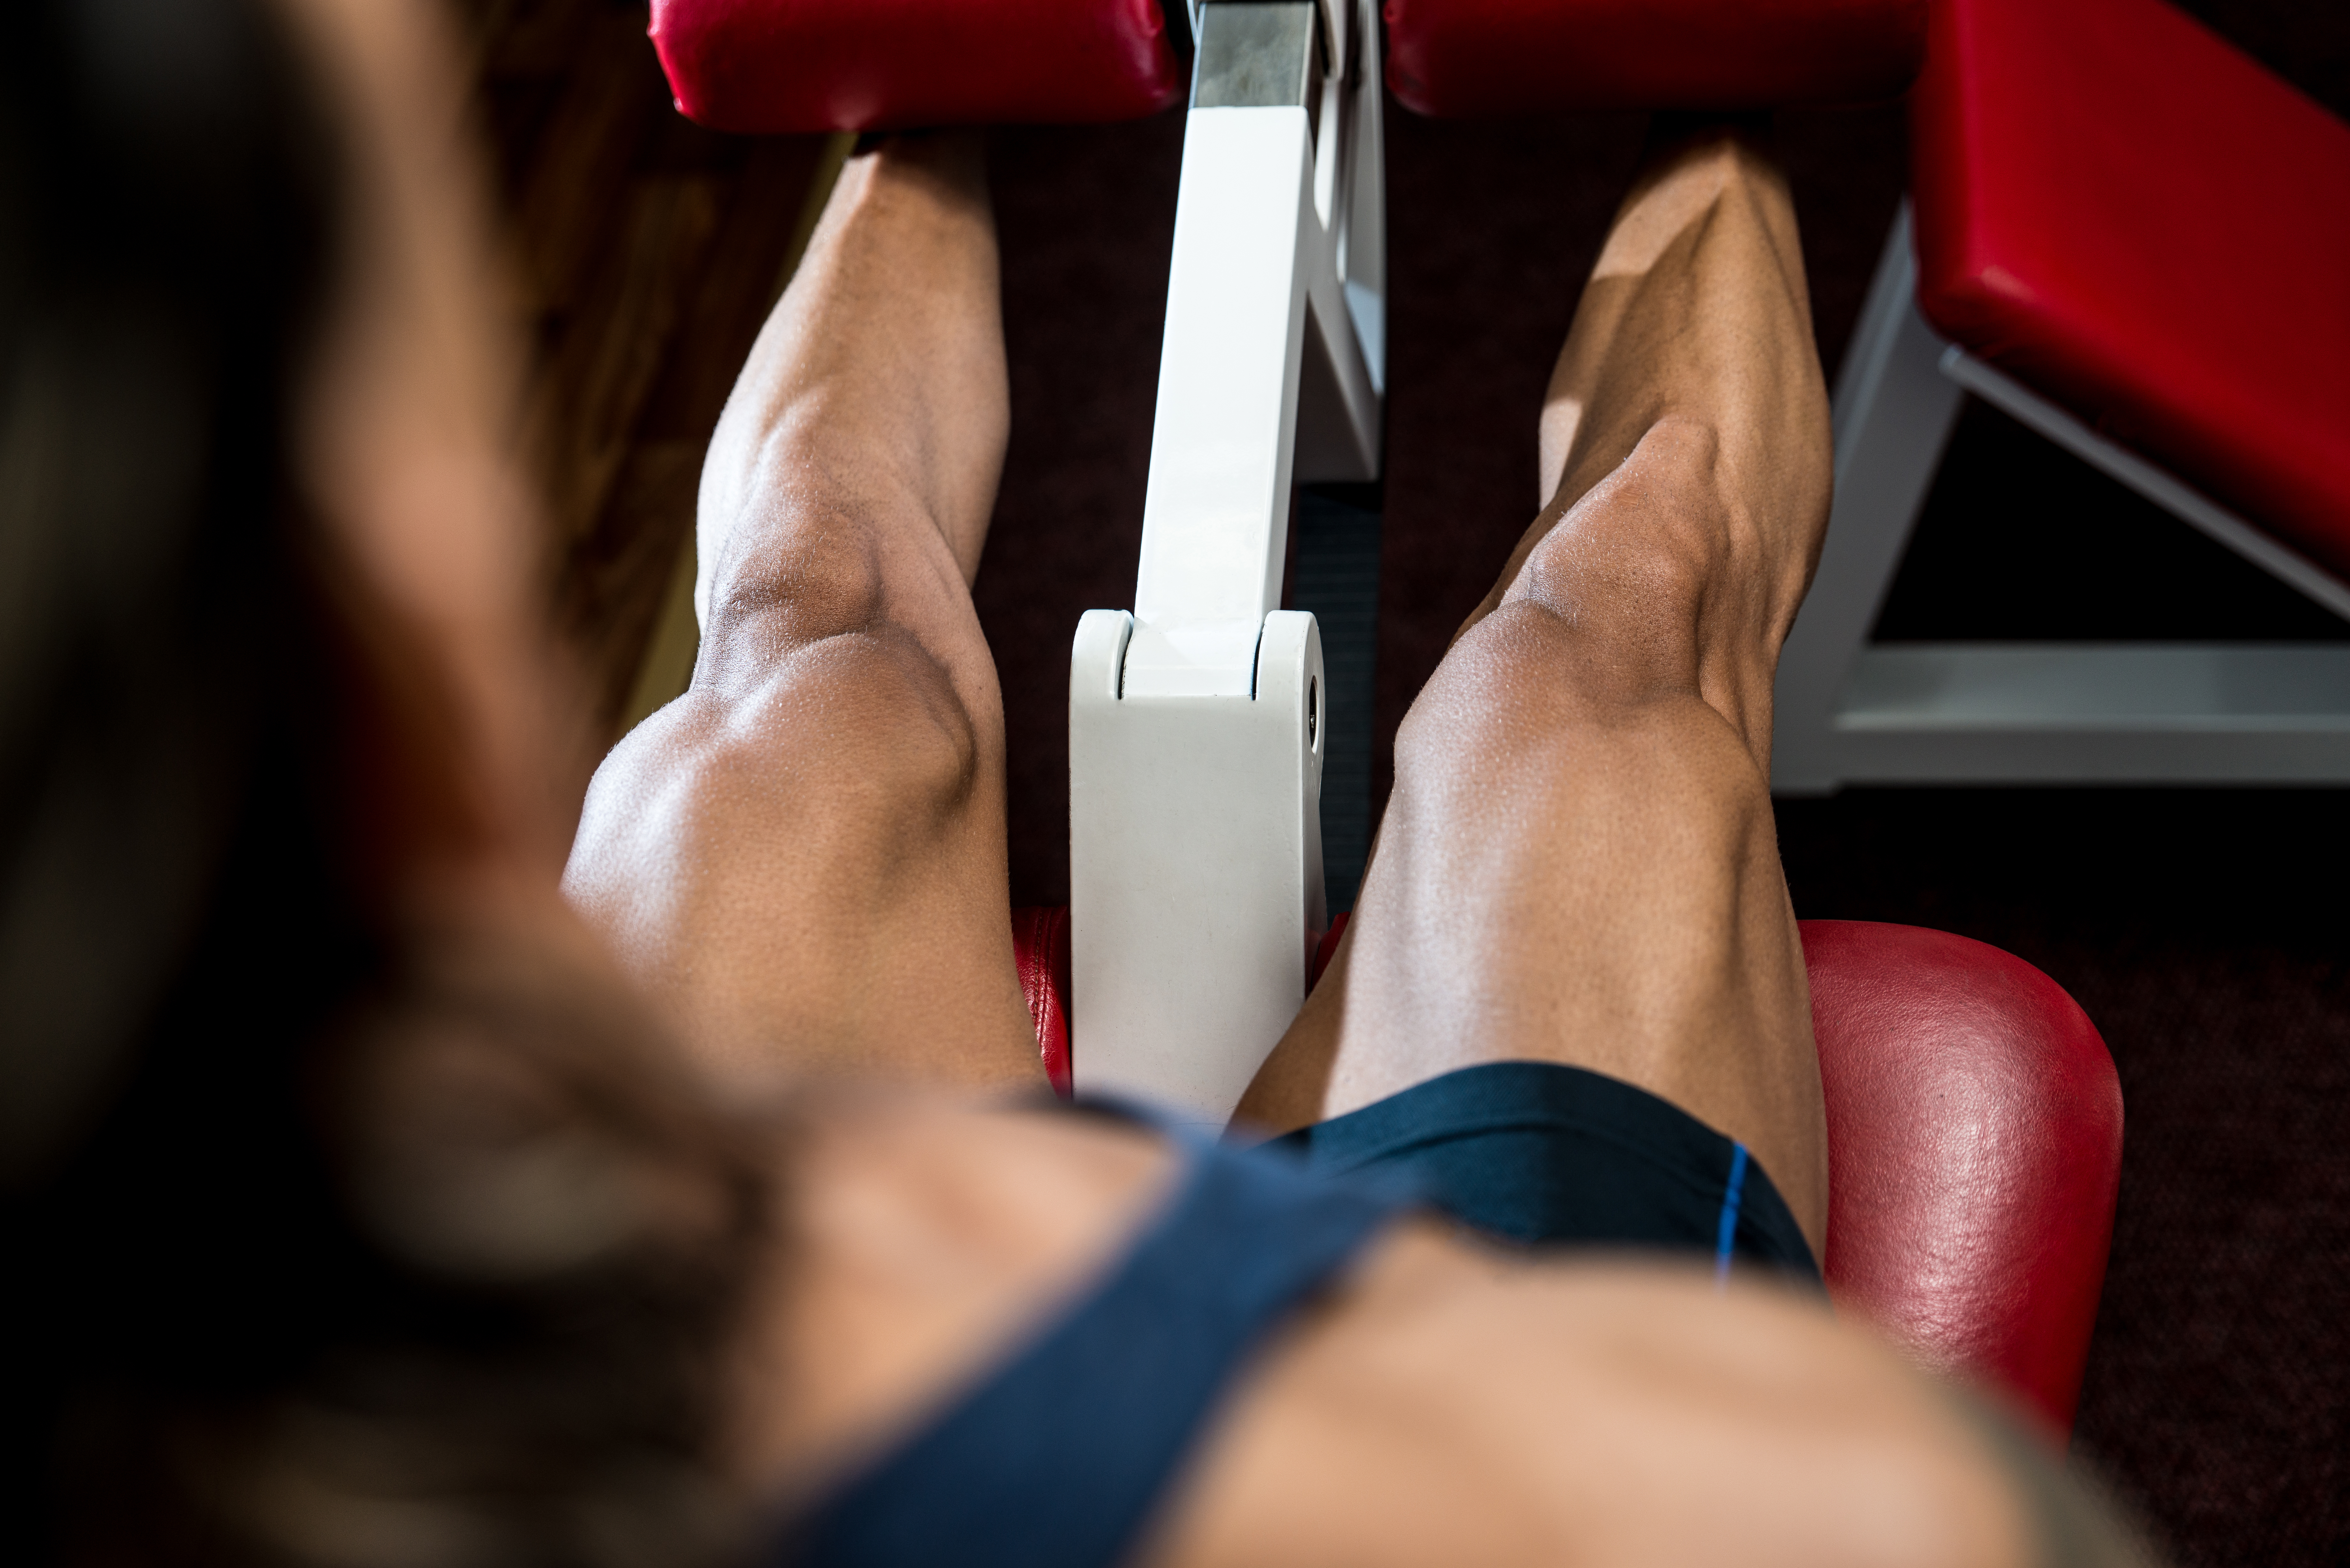
Routines in which drop sets hurt like mad include leg extension, leg press, triceps push-downs, military press and biceps curls.
Actually, all drop set routines hurt fiercely, but these here stand out.
As you can see, drop sets don’t quite work with certain routines such as deadlifts, unless you have several pre-weighted barbells lined up for your use.
Pyramids mean that you start with a light weight load that enables you to do maybe 15 reps.
Immediately increase the weight and go again, obviously for fewer reps. Don’t increase so much that your second set is only half as many reps.
The goal is to have a very challenging rep configuration of, perhaps, 15, 12, 10, 8 and 6.
An example of pyramids with dumbbell chest presses might be: 50 x 15; 60 x 12; 70 x 10; 80 x 8; and 100 x 5 or 6. You get the picture.
Pyramids and drop sets are most easily performed with weight-stack equipment and dumbbells because you can rapidly move onto the next weight increment.
Lorra Garrick is a former personal trainer certified by the American Council on Exercise. At Bally Total Fitness she trained clients of all ages for fat loss, muscle building, fitness and improved health.
.
Top image: Shutterstock/Jasminko Ibrakovic

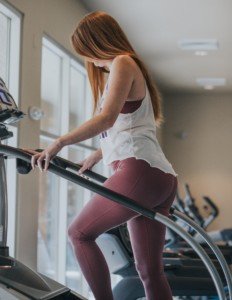
Stair Climber Won’t Make Butt Bigger; Here’s Why

This article clears the air once and for all that your butt will not get bigger from using the stair climber.
Whether you worry that the stair climber will make your butt bigger, or whether you hope to get a bigger butt by using the stair climber, here is the information that will set everything straight, once and for all.
If only it were as easy as using the stair climbing machine to get a bigger, shapelier butt. It “ain’t gonna happen.”
This is good news to those fearing that their chubby behinds will grow in size, and rotten news for those with flat behinds wanting to make them fuller.
Why won’t the stair climber make your butt bigger?
Climbing stairs is a cardio or aerobic activity. It’s of a sustained nature, like walking, jogging or pedaling a bike is. It’s a cardiovascular exercise, not strength training exercise.
You’ve certainly heard of people lifting weights to get “bigger muscles.” Climbing stairs is not the same as lifting weights.
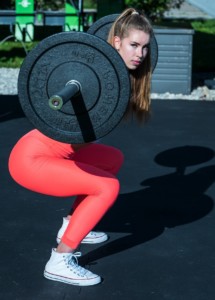
Bodybuilders who want a bigger butt know to perform intense barbell squats and intense, weighted walking lunges.
They are not on the stair climber to develop the size of their buttocks muscles.
Take this as a cue that the stair climber will not give you a huge butt.
Don’t also be led astray by photographers’ choices of big-butt models for stair machine pictures, either.
This isn’t to say the equipment won’t tone if you use it rigorously. Of course it will tone.
But to those who seek a dynamically endowed behind, and to those who fear their over-endowed behind will get even “fatter” by using this machine, you are hugely mistaken.
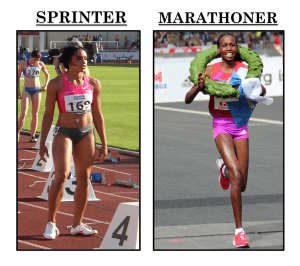
Paced stair climbing, like any aerobic activity, recruits slow twitch muscle fiber.
These fibers are designed for duration-based activity, not power-based activity.
These fibers do not grow in size. If they did, then marathon runners would have huge legs and huge behinds.
No matter how much time you spend on the stair climber, your butt will not get bigger because you’re using the slow twitch muscle fibers.
Again, they cannot grow in size. Only the fast twitch fibers can, and that’s when they are used for high power output or explosive-style strength moves.
Exercises that do indeed increase the size of the gluteal muscles are, as mentioned, barbell squats, walking lunges while holding heavy weights, plus additional strength training moves and full-force sprinting.
There are miscellaneous activities that are associated with a well-endowed rear, such as speed skating and gymnastics. Also keep in mind that:
- Some obese women have flat butts.
- Some slender women who hardly exercise have round shapely rears.
Thus, the shape of one’s rear isn’t just dependent upon body weight or exercise – genetics have a lot to do with it.
 Lorra Garrick is a former personal trainer certified through the American Council on Exercise. At Bally Total Fitness she trained women and men of all ages for fat loss, muscle building, fitness and improved health.
How Fast Should You Walk on a Treadmill Desk ?
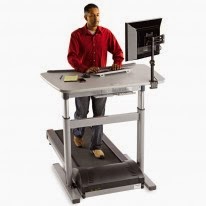
Find out if it matters how fast you walk when using a treadmill desk.
The treadmill desk, in which you walk while using a computer, is the solution to the hazards of sitting all day at the job.
More and more studies are surfacing showing the connection between excessive sitting and increased risks of, for instance, heart disease and mortality (Wilmot et al, Diabetes Research Group at the University of Leicester).
Now that you agree that a treadmill desk would solve the problems that prolonged sitting causes (including postural), the next question becomes: How fast should you walk with a treadmill desk setup?
How fast you should walk depends on your goals and your fitness level. How fast you should walk also depends on the nature of your desk work.
For instance, during heavy typing, you won’t be able to walk as fast as during reading.
This has nothing to do with fitness; it’s a matter of distraction from the movement — at least it is for me.
Then again, I haven’t had my unit long enough to determine if I’ll one day be typing hundreds of words like a demon while walking 3 mph.
Weight Loss
If you use a treadmill desk enough, your daily calories burned will increase. There is no question whatsoever about this. You can easily accumulate several miles a day (depending on speed).
Though your walking speed will be slow, it’s the accumulated mileage that will result in many extra calories burned over time.
Compare miles of very slow walking to endless hours of sitting like a mummy at a computer.
You’ll lose weight unless you eat more to balance the changed equation. But how fast should you walk, regardless of your goals (e.g., weight loss, improved posture, lower blood pressure, lower mortality risk)?
First get used to the contraption. It does feel awkward at first. Find your natural pace, as it applies to the type of work at hand (heavy typing, light typing, a lot of mouse clicking, scrolling and reading).
If you feel that you can walk faster and still maintain concentration, then slightly increase the speed. If it feels really weird, slow the speed.
To get an aerobic workout without the distraction of quick stepping, go very slowly but use an incline if the machine offers this feature. A 1.5 mph walk at 15 percent incline will exercise the heart.
While you’re waiting for a slow page to load, increase the speed for a brisk walk or slow jog, even if it’s for 10 seconds.
A bunch of these 10-second spurts throughout the workday will add up over time.
If your feet begin feeling uncomfortable, take a break and/or try a different pair of athletic footwear.
Don’t overdo it. Don’t assume you can walk for hours on a treadmill desk the first time you try it just because the speed is super slow.
No matter how fast you can sprint across a basketball court or how much weight you can squat at the gym, this doesn’t mean your feet can handle prolonged slow walking without prior conditioning for this.
Listen to your body when it comes to using a treadmill desk, and walk as fast as you feel comfortable.
Lorra Garrick is a former personal trainer certified through the American Council on Exercise. At Bally Total Fitness she trained women and men of all ages for fat loss, muscle building, fitness and improved health.
.
Source: sciencedaily.com/releases/2012/10/121015090048.htm
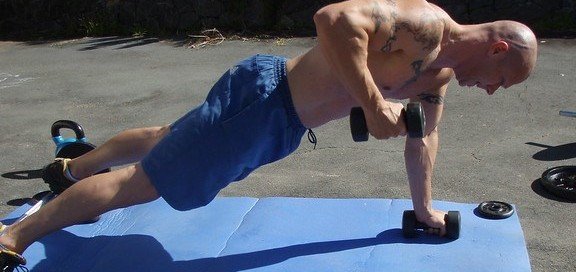
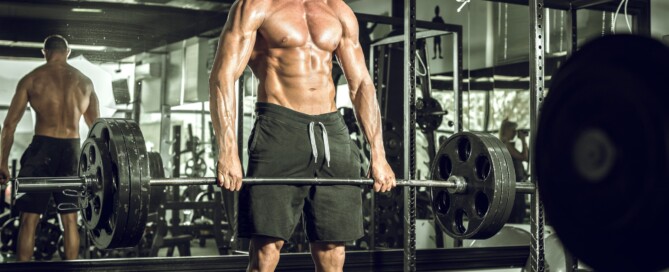
Renegade Rows with Pushups: Muscles Worked, Benefits
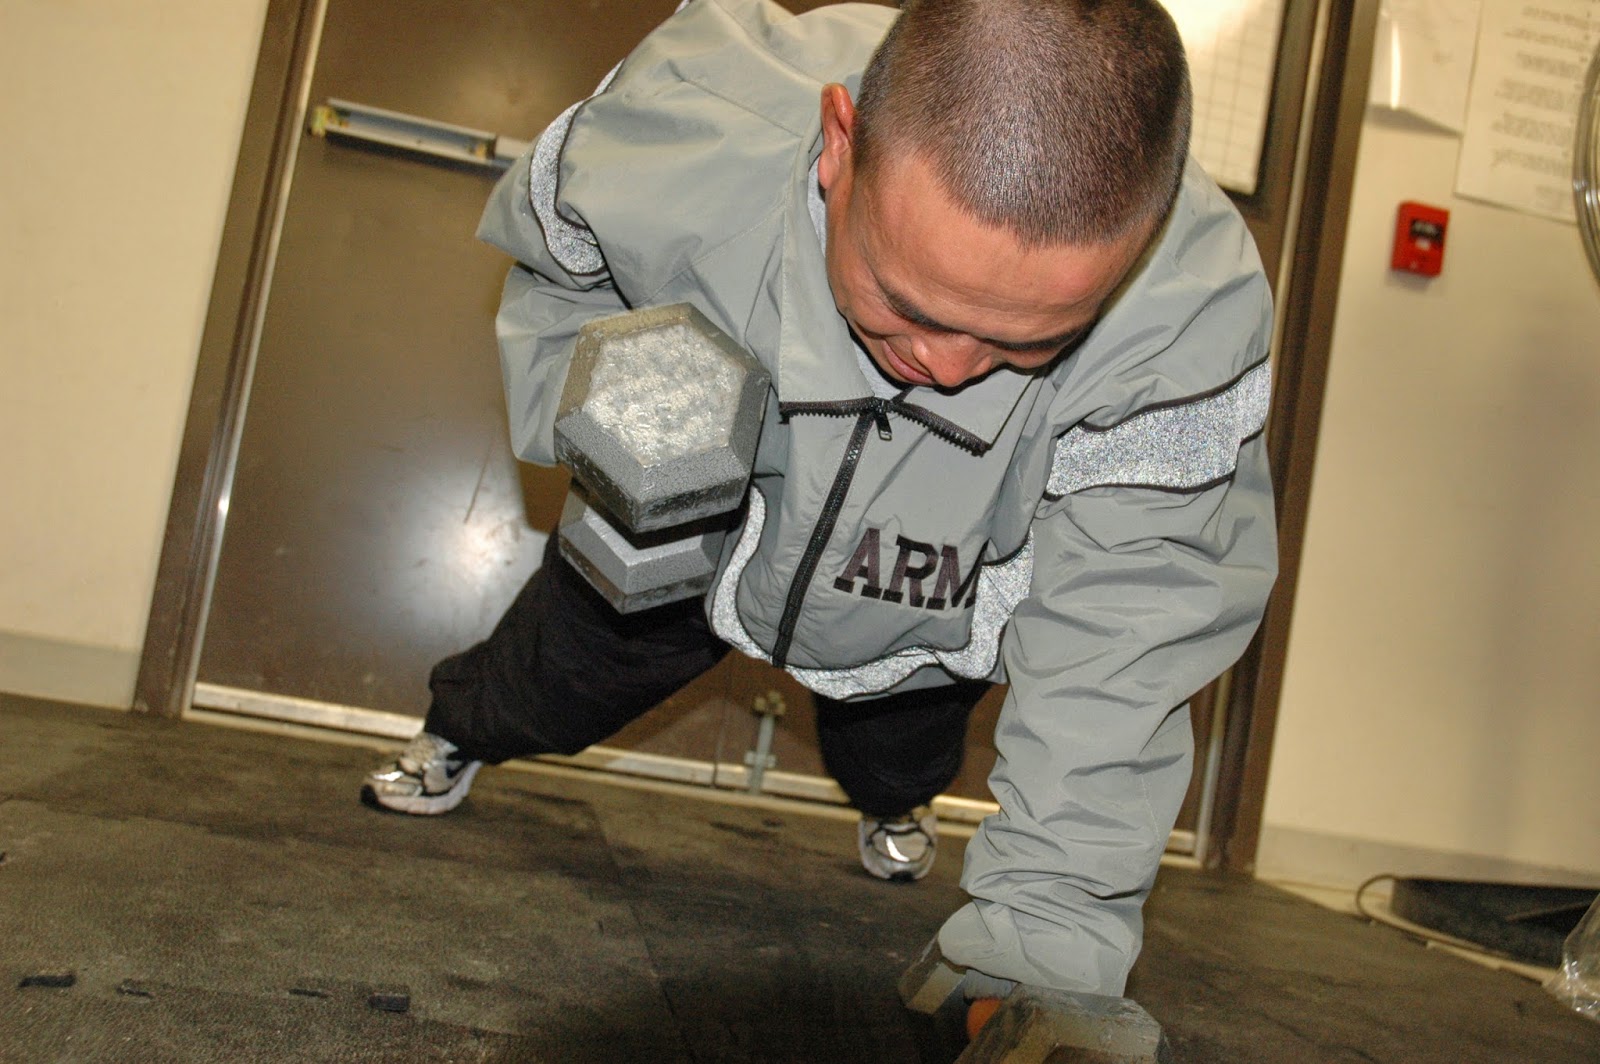
Renegade rows with pushups is one of the best routines for hammering the entire body at once.
I’m a former certified personal trainer and I’ve been doing renegade rows for quite some time.
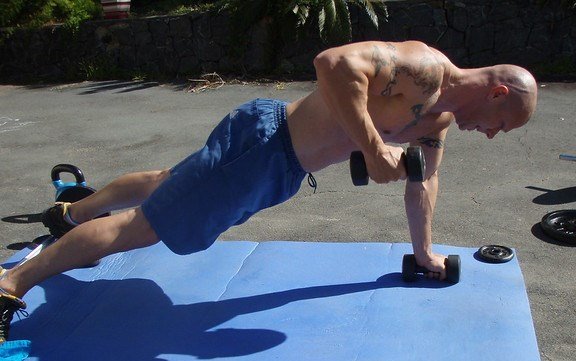
This exercise is when you insert a pushup in between the rowing action.
What muscles are worked during pushup rows?
The entire upper body. Plus the core and legs.
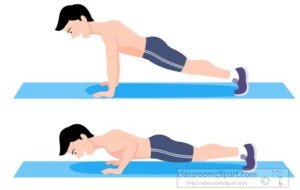
What more can I say? The pushup portion works the pectoralis (chest) muscles, as well as triceps muscles (back of upper arms) and anterior deltoids (front of shoulders).
Pushups also engage the core (lower back and abdominals), since these muscles must isometrically contract to allow the pushup motion (isometrically means that the muscles do not lengthen or shorten while remaining under tension).
The rowing aspect of the renegade targets the middle back muscles (chiefly the rhomboids), the biceps muscles (front of upper arms), and the forearm muscles.
The plank position that precedes each rowing motion engages the core.
The entire body gets tanked during renegade rows with pushups, especially when a pushup is done after every single row, rather than after both arms do the rows.
There is some leg recruitment as well, but it’s minor.
The legs work to support your body, but no matter how exhausting your set of renegades with pushups is, the legs will not (or at least, should not) feel fatigued when you’re finished.
Benefits of the Renegade Row
This should be obvious. The entire upper body gets nailed during this routine.
Of course, you have to make it challenging. If you’re very strong but use only 15 pound dumbbells, you will be depriving yourself of a much more effective workout.
Here is what I recommend: Figure out what weight dumbbell (or kettlebell) you would have to lift during renegades, with a pushup after every single row (not double), such that 14 to 16 single rows are barely possible – they are very difficult, and after you complete that 14th to 16th lift, your arms’ ability to lift is dead.
However, you still have some pushups left in you. Hands still on dumbbells or kettlebells, you can continue doing just these, anywhere from one more to 10 more before collapsing to the floor.

You immediately stand and are breathing very heavily, heart rate very fast, as though you just sprinted your fastest 100 meters. This is how it should be.
If your pushup ability exceeds your rowing ability, hold the “down” position of every pushup for an extra second or two.
If it’s the other way around, hold the “up” position of every row for a 2-count.
After a routine like this, wait five minutes before going at it again. It should be that strenuous.
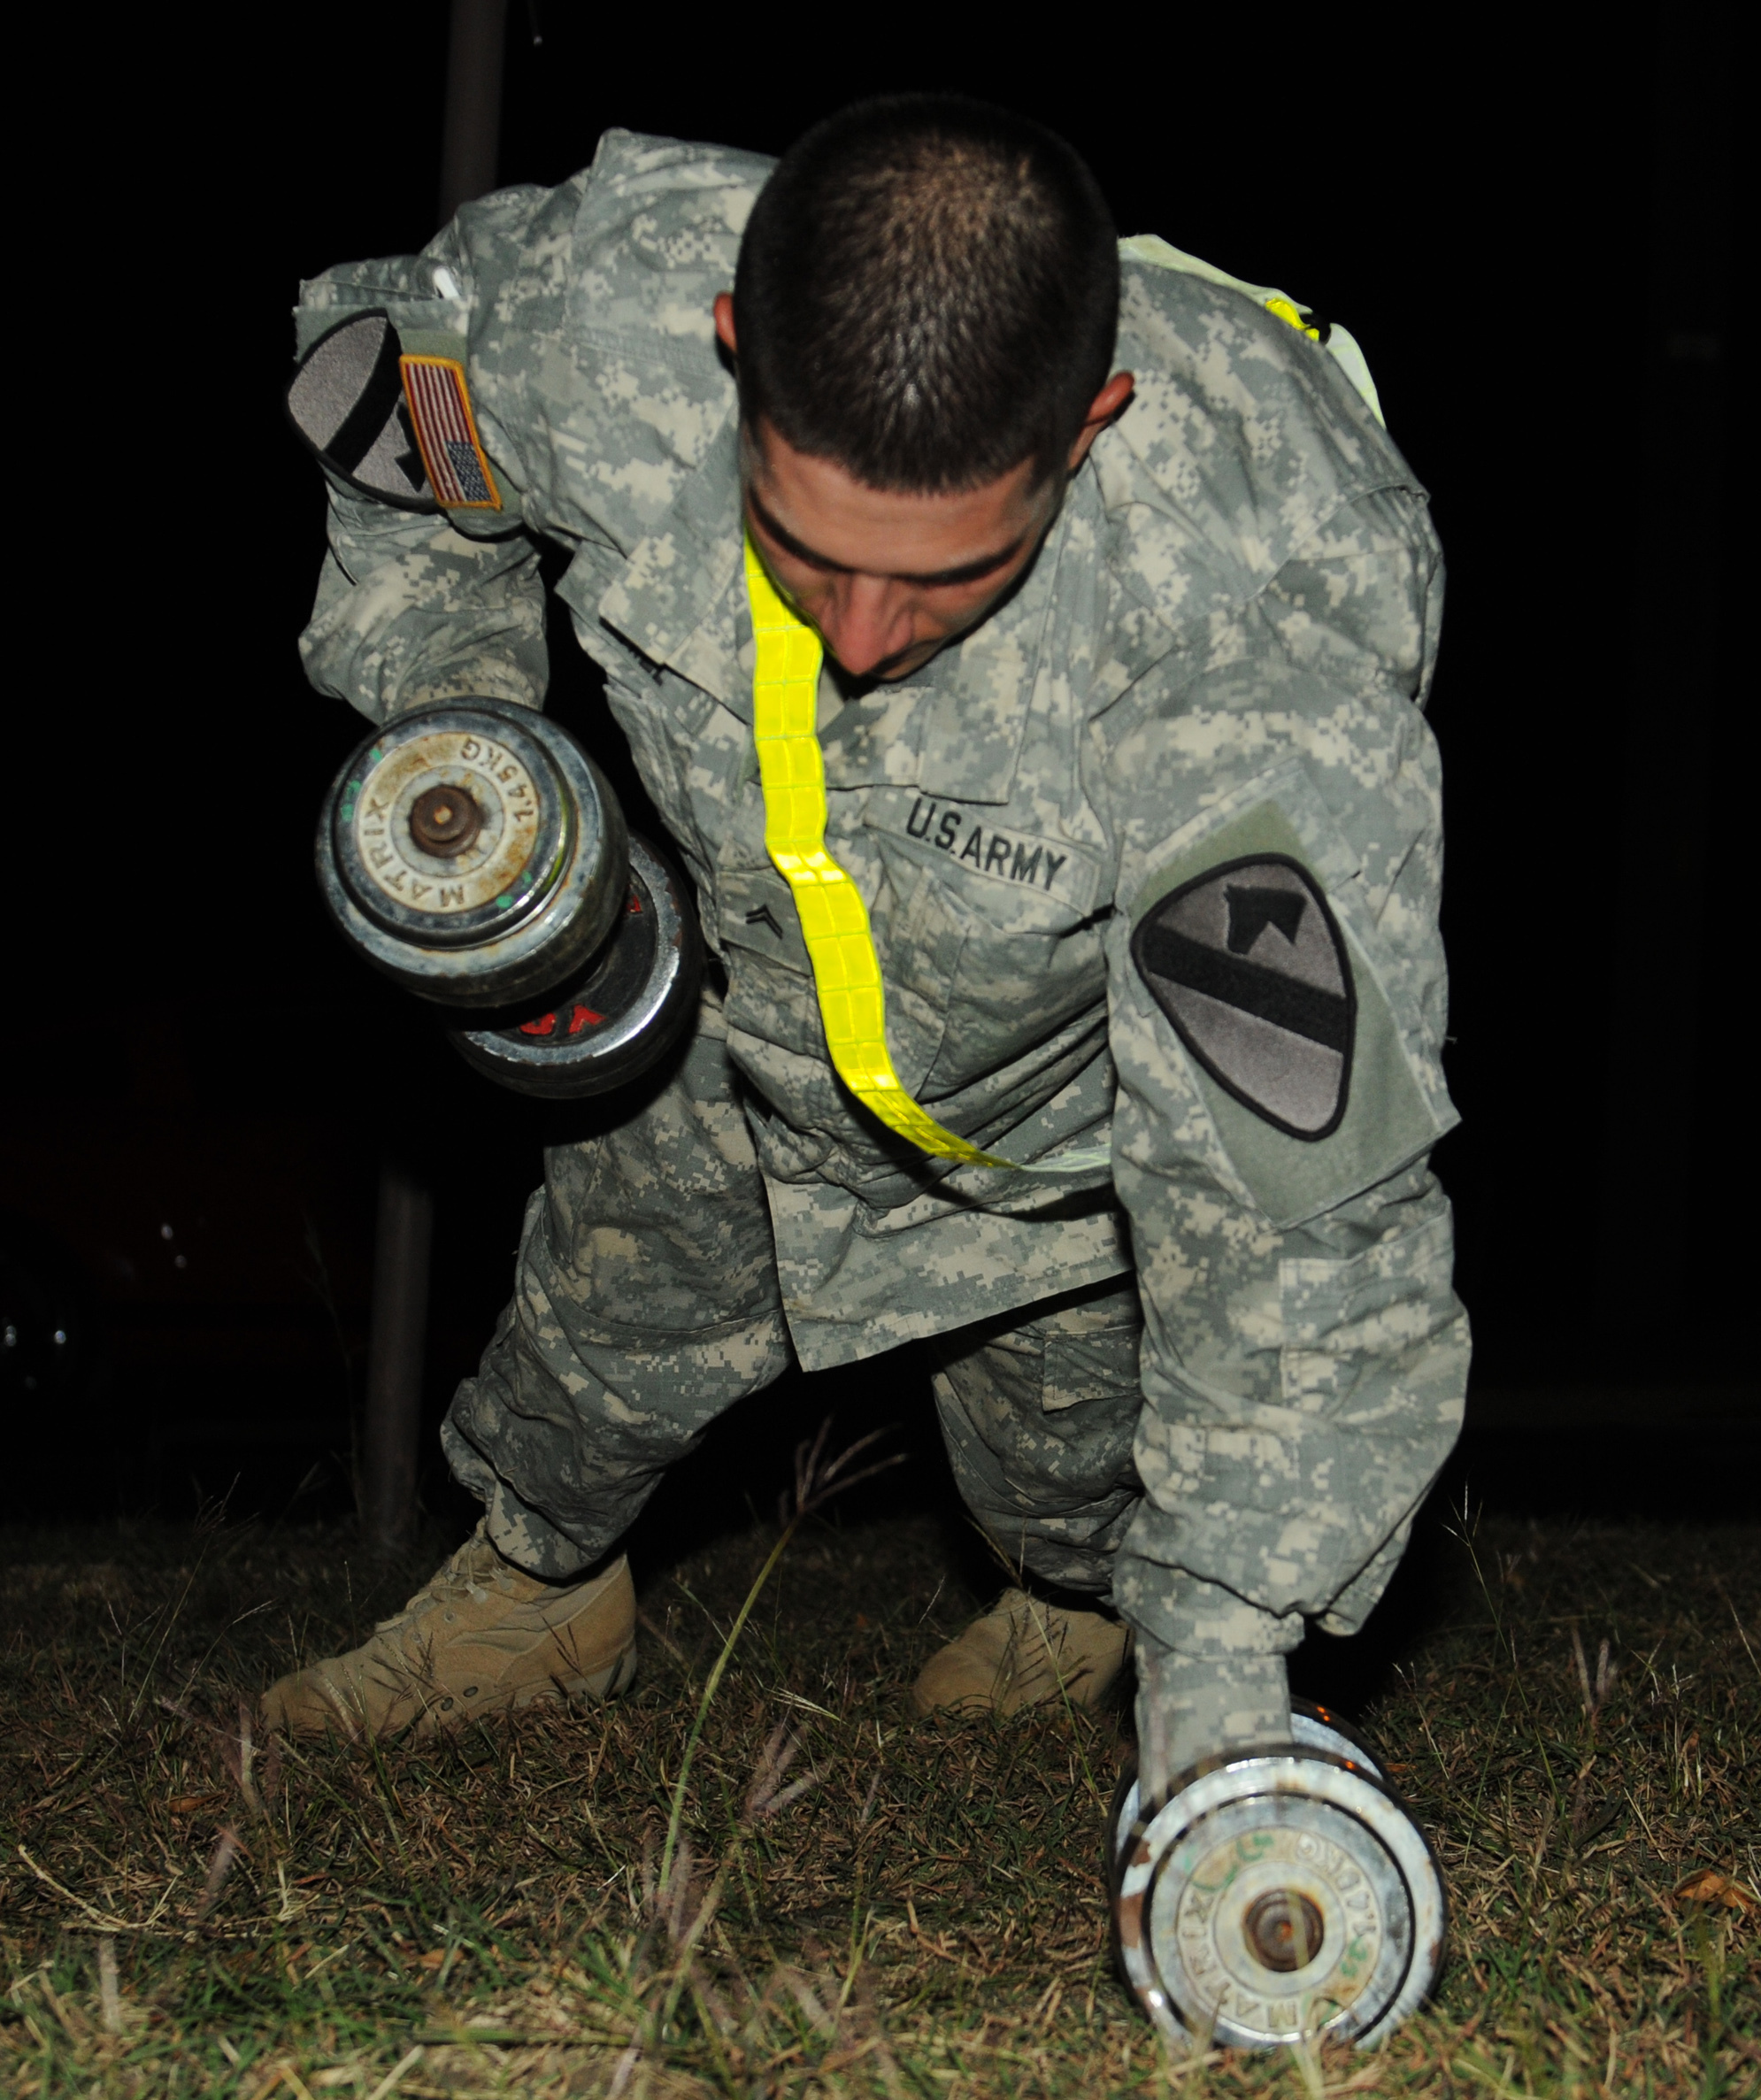
If you use dumbbells with rounded ends, the dumbbells will be more difficult to handle, as they will want to roll about.
To minimize this, every time you place the dumbbell back to the floor, place it so that your palm is facing towards your legs.
Otherwise, setting the dumbbell down so that your palm is facing your opposite arm will give the weight a greater propensity to roll outward.
What day should these kinds of renegade rows be performed on? Chest day or back day. How many sets? As many as you feel brutal enough to perform.
Feel free to tweak the routine any way you desire, such as doing two rows in a row on each arm before each pushup.
Lorra Garrick is a former personal trainer certified through the American Council on Exercise. At Bally Total Fitness she trained women and men of all ages for fat loss, muscle building, fitness and improved health.
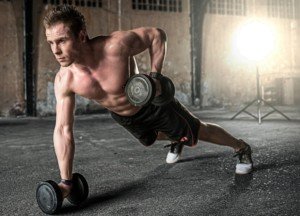
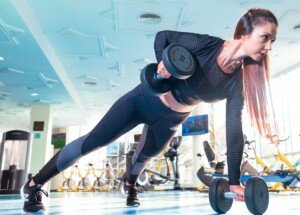
Renegade Row Intensity Techniques for Killer Core Workout
There are a number of ways to add intensity to renegade rows, but few people do this!
Yes, you can add intensity to renegade rows – many ways! I do renegade rows on my chest days. Kettlebells can be used in place of dumbbells.
The first way: Add intensity to renegade rows by adding a pushup after the dumbbell lift is performed by both arms.
This is the common way that renegade rows with a pushup are performed. The pushup comes after the dumbbell lift is done on both sides.
So lift with the right arm, set weight down, row with the left arm, set weight down, then do a pushup. Then lift with right, then with the left arm, then do a pushup. And so on.
However, why wait until after you row with both arms to do the pushup?
Add further intensity to renegade rows by doing the pushup after each single row!
Go with the right arm, pushup, then row the left arm, pushup, then right arm, pushup, then left arm, pushup, and so on.
I rarely see people doing it this way (other than myself and my clients). And when I do see people doing it this way, they always use light weights.
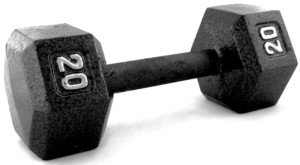
So to add even more intensity to renegade rows, use heavy weights, either kettlebells or dumbbells – but use dumbbells with a hexagonal shape because round-end dumbbells can create a rolling problem. Forget the 15 pound weights and go for the 25 pounders.
A well-trained man should be able to do this with 50 pound dumbbells. I’ll correct that: 70 pound dumbbells.
If you think I’m losing my mind here, if I can perform renegade rows with 50 pound dumbbells – after every unilateral row at that – then a well-trained man should be able to move 70 pound dumbbells likewise.
There are more ways to add intensity to renegade rows.
After you achieve muscle failure … just do pushups – keep doing them to failure.
So this way, you reach failure twice in the same routine:
1) Upon performing renegade + pushup, whereas the rowing motion starts falling apart and you reach muscle failure with that particular movement, and 2) You abandon the rowing portion and continue doing just the pushups until you can no longer do those, either.
Throughout all of these movements, you must concentrate hard on maintaining good form!
There are several ways to break form while doing these, such as “walking” the feet; performing incomplete or low rows (pulling the weight up closer to the hip rather than bending arm near ribs as though you are “elbowing” someone lying on top of you); allowing butt to poke up so that body is approaching a V shape; and sloppily lowering weights by allowing them to bang back to the floor rather than lowering them with control.
More ways to add intensity to renegade rows:
Place feet on an elevated surface such as a stepper platform (that’s used in step aerobics classes), or – if you’re a total animal – place feet on a stool! This is wicked!

And yet another way to add intensity to renegade rows is to do them off of one foot, either that foot on the floor or on a stool.
There is yet one more way to add intensity to renegade rows, but it comes with a warning: You risk injuring rotator cuff.
But then again, if you’re doing “upright rows” and cable crossovers, you risk injuring rotator cuff. So here goes:
Use dumbbells that are round, rather than hex. I don’t know at which point in poundage this starts becoming a problem because I’ve always used hex style.
But one day I was at a gym with only rounded dumbbells, so I proceeded to perform renegade rows with 40 pound dumbbells … and promptly knew there was a problem.
Each time I proceeded to lift, the support hand … which was on the dumbbell on the floor … began fighting against that dumbbell to prevent it from rolling rightward.
It made me think that any moment it would roll out to the side and pull my shoulder out with it.
However, when I do renegade rows, the dumbbells are in neutral position (my palms face each other).
For me, this position is highly preferable.
If dumbbells are positioned so that their ends face each other, the propensity for rolling is diminished.
For the ultimate intensity technique with renegade rows, use very heavy weights; perform the pushup after every unilateral row; and prop feet up on a stool. Vicious!
Lorra Garrick is a former personal trainer certified by the American Council on Exercise. At Bally Total Fitness she trained clients of all ages for fat loss, muscle building, fitness and improved health.

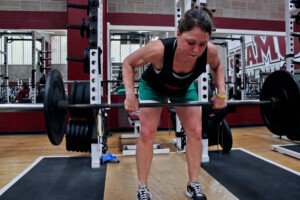
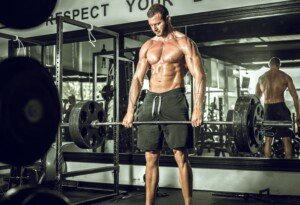
Bent-over Barbell Row vs. T-bar Row for Building Lat Muscle

Find out what a study determined activates more latissimus muscle: bent-over barbell row or the T-bar style!
So which is better when it comes to building up the lat muscle, the bent-over barbell row or the T-bar version?
According to an electromyography study of men and women who all had at least two years of strength training experience, the bent-over barbell row comes in at 93 percent, and the T-bar row comes in at 89 percent.
What do these numbers mean?
A value of 100 percent means maximum stimulation of muscle fibers. The study was conducted by Tudor O. Bompa, PhD and Lorenzo J. Cornacchia.
In an EMG, electrodes are placed on the muscle area of interest, and muscle activity is recorded as exercise is performed.
The more muscle fiber activation, the greater the potential of gaining strength and mass.
However, EMG results aside, one can understand why the bent-over barbell version is better at lat recruitment than the T-bar row simply by considering how these exercises are done.
Shutterstock/Master1305
In a free-weight T-bar row — in which the tool is an Olympic bar wedged in a corner — the exerciser pulls against the resistance with a hand placement of about shoulder width, using an attached handle.
Sometimes the exerciser has their hands on the barbell, which means an extremely narrow grip.
This subtracts from the activation of the latissimus muscle; more biceps and forearm muscles get involved.
When one uses a cable-machine attachment placed under the bar, this allows the hands to be apart, but it’s still a narrow grip.
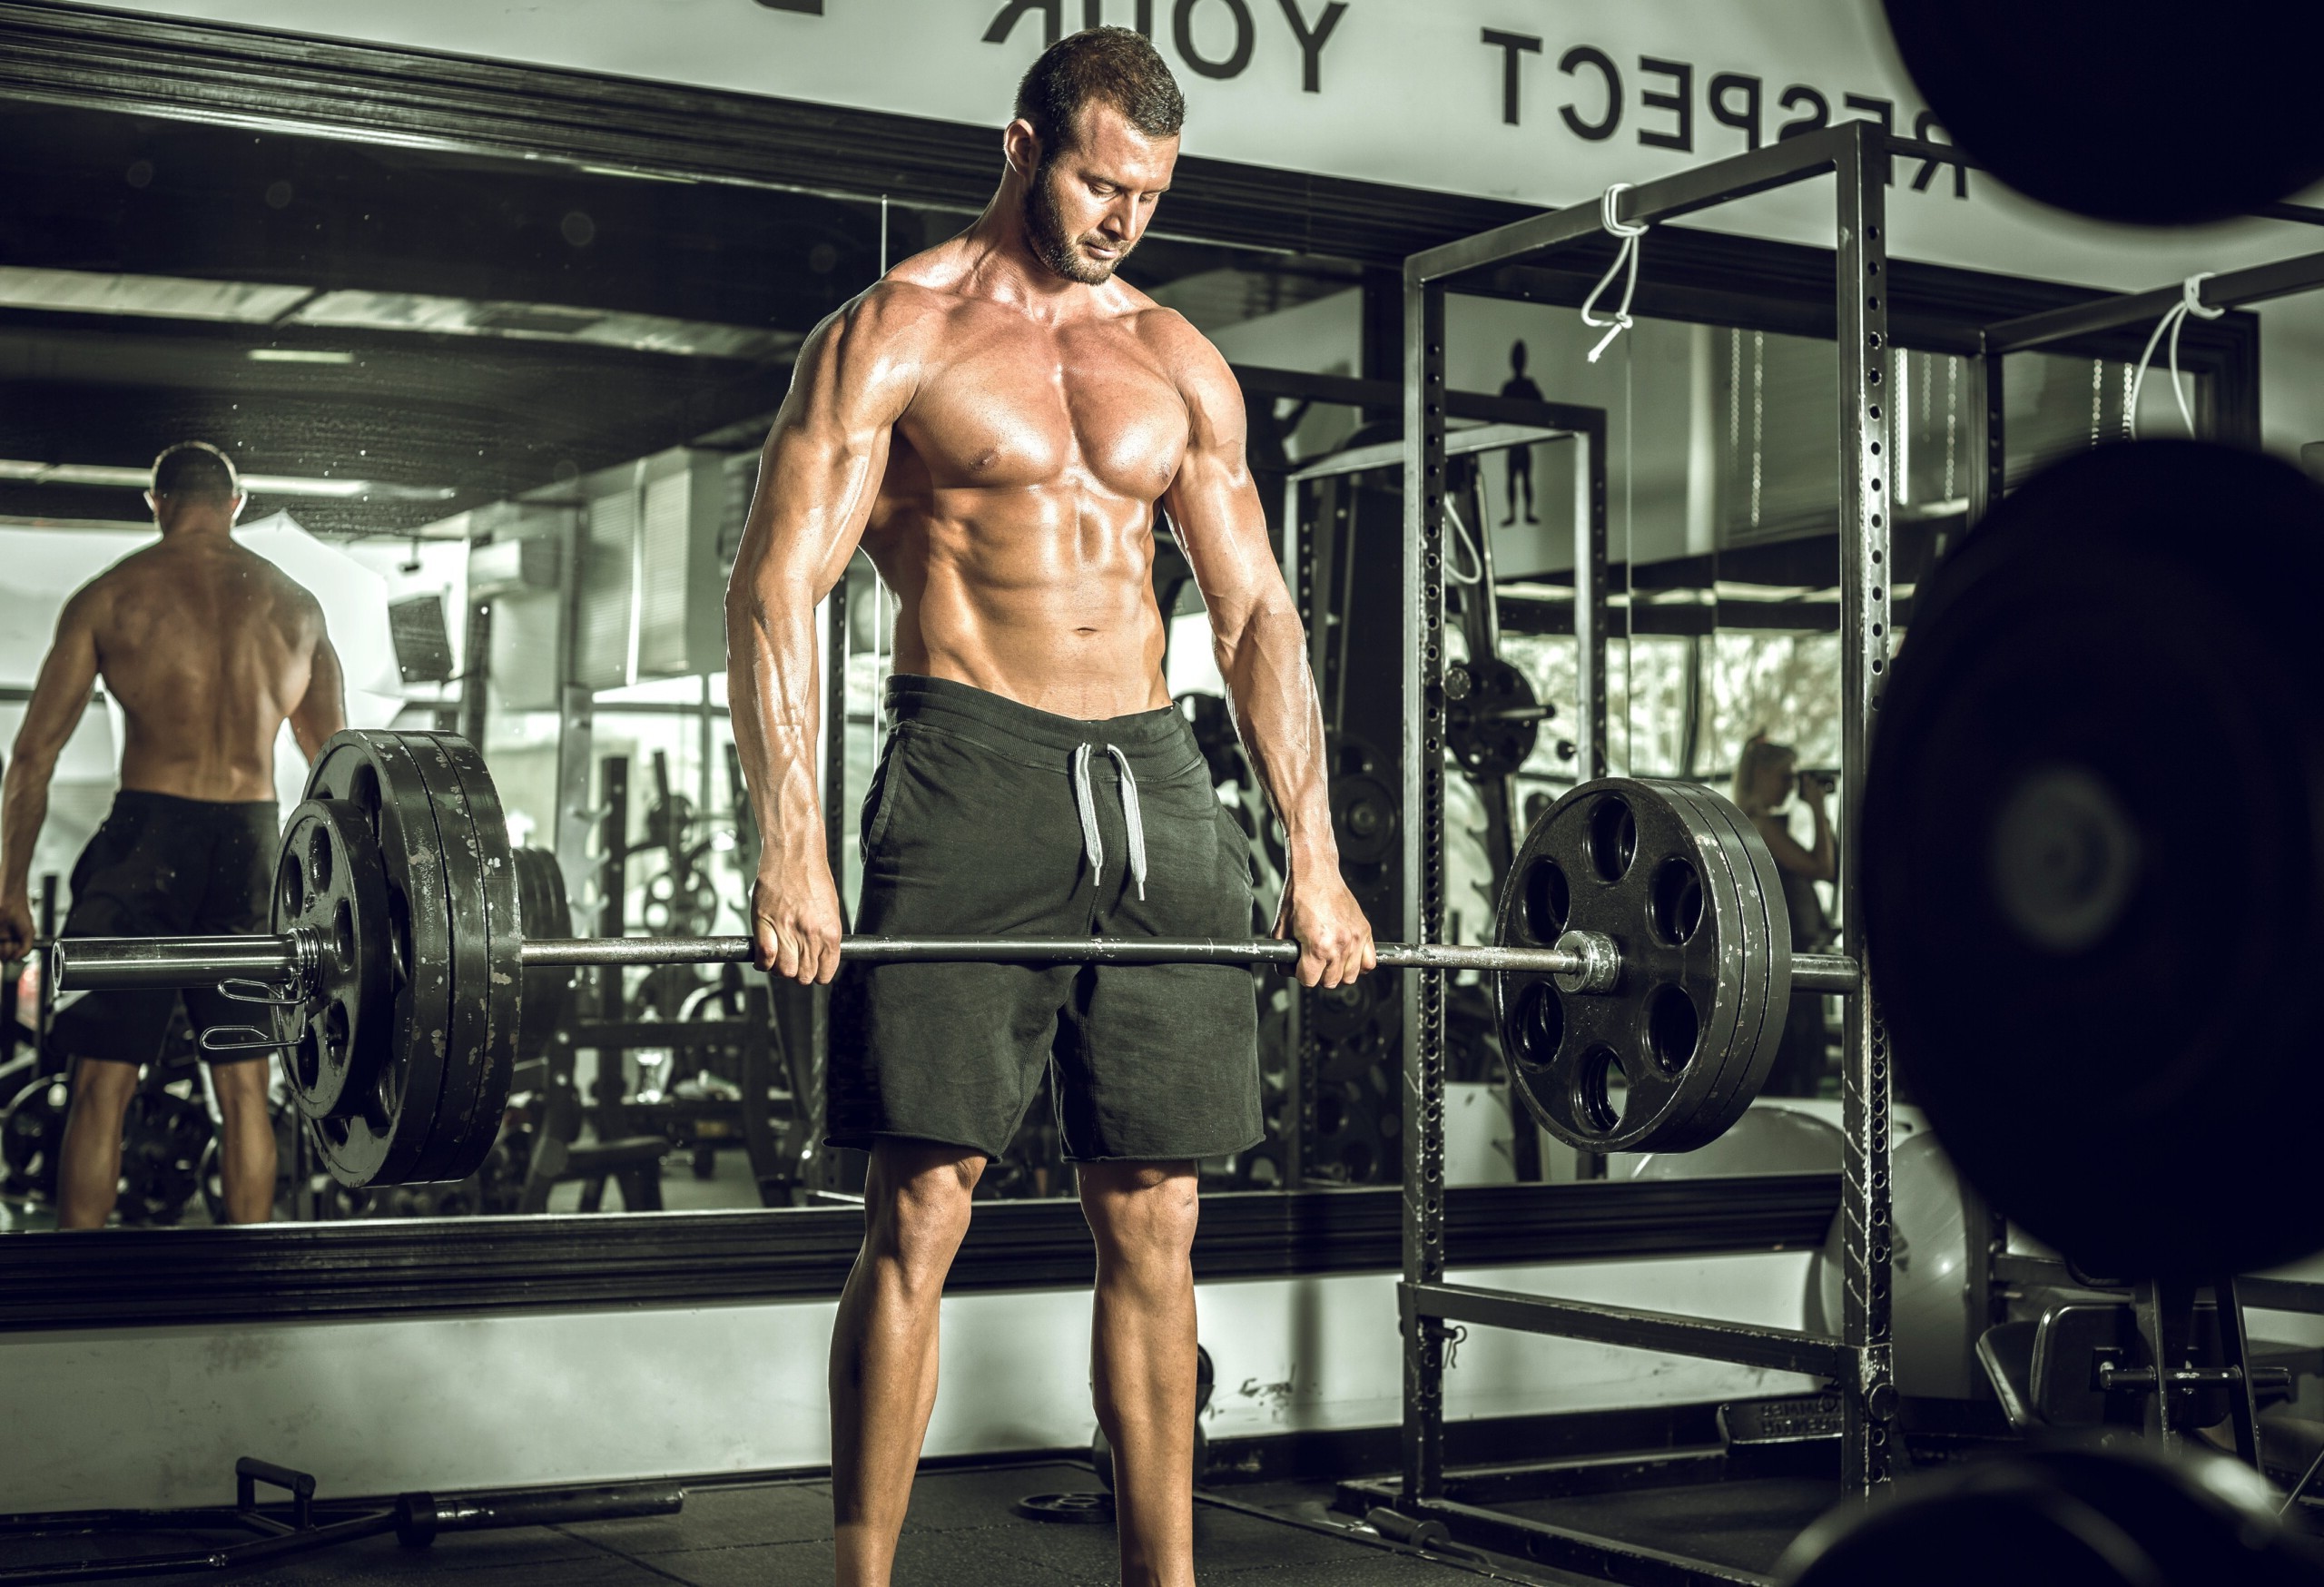
In a bent-over barbell row, typically the exerciser uses a wide hand placement.
The wider the hand placement in the grip, the more activation of the latissimus muscle.
embhoo. CreativeCommons
Both exercises are performed while one stands and leans over, so in both cases, there’s core and leg involvement. A striking variable, then, is how far apart the grip is.
However, another variable needs to be considered when pitting the bent-over barbell row against the T-bar: ergonomics and convenience.
Let’s face it; it’s a hassle to set up the corner barbell. In a bent-over row, the weight is already ready to go (if you use a pre-fixed weight), can be done anywhere in the gym.
What about the T-bar row apparatus? Hand placement can be wide.
And the lat muscles are more isolated since the equipment stabilizes the rest of the body.
To be honest, I do not know which version of the T-bar row the study investigated. All I know is that the bent-over barbell row came on top.
The T-bar apparatus is also quite uncomfortable for many, and the fact that the entry and exit of the movement requires lateral shifting of the resistance isn’t exactly inviting.
The bent-over barbell row is more comfortable for most people.
Lorra Garrick is a former personal trainer certified by the American Council on Exercise. At Bally Total Fitness she trained clients of all ages for fat loss, muscle building, fitness and improved health.
.
Top image: Shutterstock/BLACKDAY
Source:
myfit.ca/archives/viewanarticle.asp?table=fitness&ID=28&subject=Best+Workout+Exercises
Is Lifting Weights Easier for Tall People?
Learn why it’s a myth that lifting weights is harder for tall people.
It’s often said that tall people have a harder time with lifting weights, and that it’s easier for short athletes.
Let’s assume that it truly is, collectively, more difficult for tall people to lift weights.
Does this mean that it’s harder for a healthy 5’7 man to strength train than it is for a healthy 5’2 man?
After all, the first person is a lot taller.
Is the tallness relative, or is it absolute, when it comes to lifting weights?
Let’s assume it’s an absolute issue, that is, those over 6’3 have a hard time lifting heavy weights.
Take a look at any strongman competition. Note the heights of the athletes.
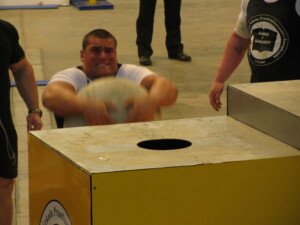
Though many of the events favor extreme height, such as the Atlas stone (above) and the fingal’s finger, what really stands out is that even the tallest of these athletes (e.g., Mike Jenkins at 6’6 and Brian Shaw at 6’8) are built with massive amounts of muscle.
This means these very tall men have been able to lift super heavy weight loads in the gym as part of their training.
Their significant muscle mass didn’t come from just eating two pounds of chicken every day.
A classic argument is that weightlifting is more difficult for tall people because they have a greater range of motion through which to move the resistance.
The flaw with this thinking is that, along with the greater range of motion, is a longer body, with longer limb segments. It’s all relative.
The 5’7 man may seem to have a small range of motion for the bench press because the distance that he creates through the air, from when his arms are bent to when they’re straightened, is shorter than that created by a 6’5 man.
However, this distance is within the context of what their arms are attached to: chest/shoulders.
To make this easier to understand, imagine you’re sitting several feet behind a man who’s bench pressing, so that the top of his head is facing you.
Imagine that person is six feet even. Now imagine his arms are the same length as those of a typical five-foot person.
Imagine him bench pressing with these super short arms attached to his chest and shoulders. What happens?
By the time the bar gets down to that man’s chest, his upper arms are still way LESS than parallel to the floor. The angle that’s created by his elbow flexion is quite large.
The range with which he must press the weight back up, once it’s lowered, is minimized, because the “bottom” of the movement has his elbow flexion minimized, due to such relatively short arms.
Now picture a five foot tall man with six foot long arms. Imagine him lowering that bar to his chest.
In order to get the bar to his chest, he must execute extreme elbow flexion, such that when the bar is at his chest, his upper arms are way PAST parallel; his elbows are forming a very acute (much less than 90 degree) angle.
From your point of view, sitting several feet behind him, you see extremely bent arms, elbows poking towards the floor.
To push the weight back up, this person must begin the movement with very bent arms, elbows below the level of the bench, even.
That’s a lot of space through which to push the weight. It will thus be much more difficult.
Do you now see what’s really going on here?
It’s not absolute overall body height that’s the issue when it comes to lifting weights.
It’s limb length relative to one’s height.
A short person with “gorilla arms” will have a harder time benching heavy weight than will a very tall person with the so-called T-rex arms.
However, the tall person with the T-rex arms will be at a disadvantage when it comes to picking heavy objects off the floor; he’ll have to bend over way more or squat deeper to reach the object: a greater range of motion.
There are mighty strong tall people, and mighty strong short people.
Certain sports favor certain body proportions, regardless of height, while other sports favor being very tall (swimming) in combination with proportions (e.g., Michael Phelps).
On the other hand, with his ridiculously short legs and abnormally long torso, Phelps probably could never have excelled at skiing.
Being tall, in and of itself, does not make it harder to lift weights.


